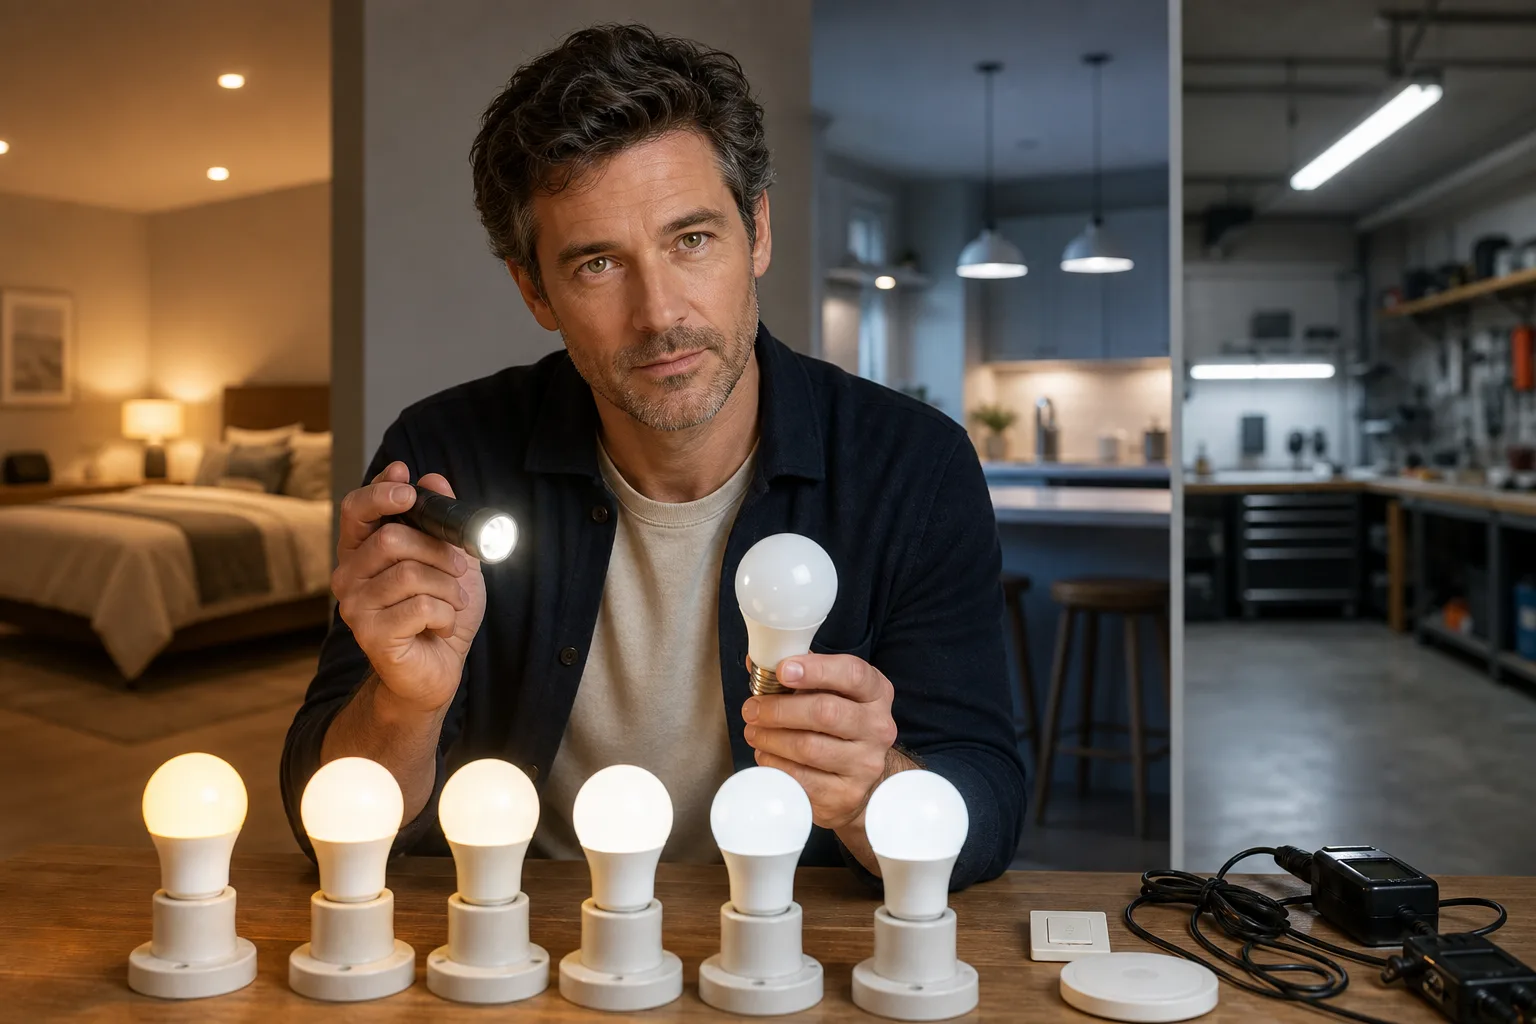
If your lighting color temperature looks wrong, first determine whether the problem follows a lamp, stays with a fixture or affects every light on the same control. Check the printed kelvin rating, restore tunable lights to a known setting, compare the lights at equal brightness and temporarily exclude daylight. Replaceable bulbs can then be swapped between compatible fixtures, with power off, to separate a bulb problem from a fixture, control or room effect. Stop and call a licensed electrician if you find damaged parts, abnormal heat, odors, sparking or repeated circuit problems.
What “wrong” color temperature can mean
Correlated color temperature, or CCT, describes the general warm-to-cool appearance of nominally white light. It is expressed in kelvin (K). Lower values such as 2700K usually appear warmer and more yellow, while 4000K and 5000K generally appear cooler or bluer. ENERGY STAR lists common nominal downlight options from 2200K through 5000K.[1]
A kelvin number does not describe every aspect of color. The IES defines CCT by comparison with the chromaticity of a heated reference source, while NIST distinguishes chromaticity from color rendition. Two products marked 3000K can therefore have different tints or make finishes, food and skin look different.[2][3]
Identify the symptom before changing anything
- Too yellow or amber: The source may have a lower CCT than intended, or a dim-to-warm product may be operating at low output.
- Too blue or stark: A higher-CCT lamp, cool-white scene or daylight setting may have been selected.
- Greenish, pinkish or purplish: The issue may be tint rather than CCT. Nominal kelvin labels alone may not reveal it.
- One light differs from its neighbors: Look for a mixed model, a different selectable-CCT position or product-to-product variation.
- The whole room changes: Check shared controls, smart scenes, daylight and reflections from walls, cabinets or furnishings.
- The appearance changed gradually: Aging LEDs or optical materials may have shifted in chromaticity.
Run these safe checks in order
Start with observations and settings before buying replacements. Change one variable at a time and write down the result. Do not remove a hardwired fixture, open a driver enclosure or reach into a ceiling junction box as part of diagnosis.
1. Establish a fair visual comparison
- Turn on all lights being compared and set them to the same brightness.
- Close blinds or repeat the comparison after dark. Daylight varies in color and can make identical electric lights appear different in separate parts of a room.
- View the same neutral surface under each light. A white or light-gray wall is more useful than comparing two colored objects.
- Give your eyes a short period to adapt after moving between rooms with very different lighting.
- Do not treat a phone photograph as a color measurement. Automatic white balance and exposure can alter the recorded appearance.
2. Verify the source specification
Check the lamp, package, receipt or manufacturer model number for its nominal CCT. Marketing terms such as “soft white” and “daylight” are less precise than a kelvin value. For an inventory check, calculate the numerical separation as ΔK = |K₁ − K₂|. For example, 4000K and 3000K differ by 1000K. This calculation helps identify mixed labels, but it is not a perceptual color-difference formula and cannot reveal green or pink tint.
3. Check adjustable products and controls
Review app scenes, remotes, schedules, voice-assistant routines and wall controls. A tunable-white system may have separate brightness and CCT settings. A dim-to-warm product intentionally becomes warmer as output falls; the Department of Energy describes products that may move from roughly 2700–3000K at full output toward much warmer light when dimmed.[4]
Some downlights and bulbs use a physical CCT selector. Follow the product instructions. If the selector is accessible only by opening a wired compartment, removing cable connections or entering a junction box, leave that check to a licensed electrician.
4. Swap only user-replaceable lamps
For compatible screw-base lamps, switch off the light and allow the lamp to cool. Move the suspect lamp to a known-good fixture with the same base and suitable ratings. If the unwanted color follows the lamp, replace the lamp. If it remains at the original location, investigate the shade, lens, fixture, control settings and surrounding surfaces. Do not place a lamp in a fixture that exceeds its wattage limit or conflicts with its enclosed-fixture, damp-location or dimming requirements.
Likely causes and practical fixes
| What you observe | Likely cause | Next action |
|---|---|---|
| One new bulb looks warmer or cooler | Different nominal CCT or model | Match the kelvin rating and preferably the exact manufacturer model used nearby. |
| Matching labels still look different | Tint, color-rendering or manufacturing variation | Compare exact model numbers. Replace the visible group if a close match is important and the original product is unavailable. |
| A downlight changed after installation or cleaning | Selectable-CCT switch moved | De-energize the product and follow its instructions. Use an electrician if access exposes wiring. |
| Light becomes warmer as it dims | Intentional dim-to-warm behavior | Use full output for comparison or choose fixed-white lighting if stable CCT is required. |
| Smart lights change at certain times | Schedule, scene, automation or lost synchronization | Disable schedules temporarily, select one CCT manually and regroup devices according to the manufacturer’s instructions. |
| Light looks different through one fixture | Tinted, dirty, aged or discolored lens or shade | With power off, clean removable optical parts as permitted. Replace damaged or permanently discolored parts. |
| Several older LEDs no longer match | Chromaticity shift over time | Replace the most visibly affected units or replace the whole adjacent set when uniformity matters. |
| Color problem appears with flicker, buzzing or dropout | Possible lamp-dimmer incompatibility or equipment fault | Confirm the lamp is dimmable and appears on the dimmer manufacturer’s compatibility guidance. Have fixed wiring or controls assessed by an electrician. |
Color shift in older LED products
LEDs do not always fail by going dark. Their output or chromaticity can change gradually, and components such as LED packages, optics and controls can affect long-term performance. DOE research distinguishes product-to-product color consistency from color stability over time.[5] A changed appearance is not proof of a dangerous fault, but an abrupt change combined with heat, odor or unstable operation requires professional assessment.
Account for the room, not just the bulb
A light source is only one part of the visual result. Paint, wood, tile, fabrics and glazing reflect some wavelengths more strongly than others. Warm beige walls can reinforce warm light, while cool gray or blue finishes may make the same source feel cooler. A colored shade or yellowed diffuser can alter the light before it reaches the room.
Use layered lighting deliberately
A room commonly combines ambient, task and accent lighting. These layers do not always need identical CCTs, but neighboring sources illuminating the same wall, counter or ceiling usually look more coherent when their appearance is closely matched.
- Ambient lighting: Keep the main ceiling lights consistent so the room has a stable visual baseline.
- Task lighting: Choose enough output and suitable color rendition for reading, cooking or detailed work. Do not assume a higher CCT automatically produces more usable light; compare lumens and the delivered illumination separately.
- Accent lighting: A modestly warmer or cooler source can be intentional, but test it against the artwork, shelving or texture it illuminates.
If the room seems wrong rather than one lamp, review the full layered-lighting plan. The color-temperature basics, color-rendering guide and color-temperature picker can help with replacement planning.
Choose replacements that are more likely to match
For adjacent lamps, match more than the base and bulb shape. Record the manufacturer, full model number, nominal CCT, lumen output, dimmability and any selectable or tunable features. Check whether the lamp is approved for enclosed fixtures when relevant. If several lamps must appear uniform on one ceiling or vanity, buying the same model together reduces avoidable differences, although no consumer label guarantees a perfect visual match.
Test one before replacing a whole room
Buy or install one candidate where returns or exchanges are practical. Evaluate it after dark and during the day, at normal dimming levels and against important finishes. If it matches, obtain the remaining quantity promptly because manufacturers may revise products while retaining similar package descriptions.
For integrated LED fixtures, first check warranty terms and whether the driver, light engine or trim is serviceable. Replacing an entire fixture may be necessary when the LED module is not user-replaceable. Use the LED bulb selection guide for replaceable lamps and the bulb replacement guide for basic fit and safety checks.
Know when to stop troubleshooting
Color mismatch by itself is often a specification, setting or aging issue. Electrical warning signs are different. NFPA advises contacting a qualified electrician for conditions including warm or discolored outlets, burning or rubbery odors, sparks, repeated breaker trips, and recurring flickering or dimming.[6]
Call a licensed electrician when:
- The fixture, switch, dimmer or wiring is unusually hot, scorched, cracked or discolored.
- You notice sparking, a burning smell, repeated breaker trips or unstable operation.
- The diagnosis requires opening a hardwired fixture, driver, wall box or junction box.
- A replacement dimmer or control must be wired into the branch circuit.
- Multiple fixtures on one circuit change behavior unexpectedly.
- You cannot verify that an integrated fixture is de-energized and safe to access.
If the lights also buzz or flicker, continue with the LED buzzing guide or LED flickering guide. For a planned control replacement, review how to choose an LED dimmer; installation involving fixed wiring should be performed only by someone qualified to do the work under applicable local requirements.
Frequently asked questions
Why do two LED bulbs marked 3000K look different?
The 3000K label describes nominal correlated color temperature, not every aspect of the emitted spectrum. The bulbs may differ in tint, color rendition, manufacturing consistency, age or optical design. Match the exact model where possible, especially for neighboring lamps.
Can a dimmer change an LED bulb’s color temperature?
A dim-to-warm LED is designed to become warmer as it dims. A fixed-white LED is not intended to make that same controlled CCT change, although incompatible controls can cause unstable or poor performance. Confirm that both the lamp and dimmer are compatible.
Why does my lighting look warmer at night?
During the day, daylight mixes with electric light and affects visual adaptation. At night, the electric source and the room’s reflected colors dominate, so warm lighting may appear more obvious. Compare bulbs under the same daylight and dimming conditions.
Should all lights in a room have the same color temperature?
Not necessarily. Ambient, task and accent layers can differ intentionally, but lights illuminating the same wall, ceiling or work surface usually look more coherent when closely matched. Consistency is particularly important across adjacent recessed lights and vanity lamps.
Questions & discussion
Share a question or a useful experience about this guide. Comments appear immediately. Your name and comment are public. Email is optional and stays private; reply emails are not enabled yet. Comment privacy.