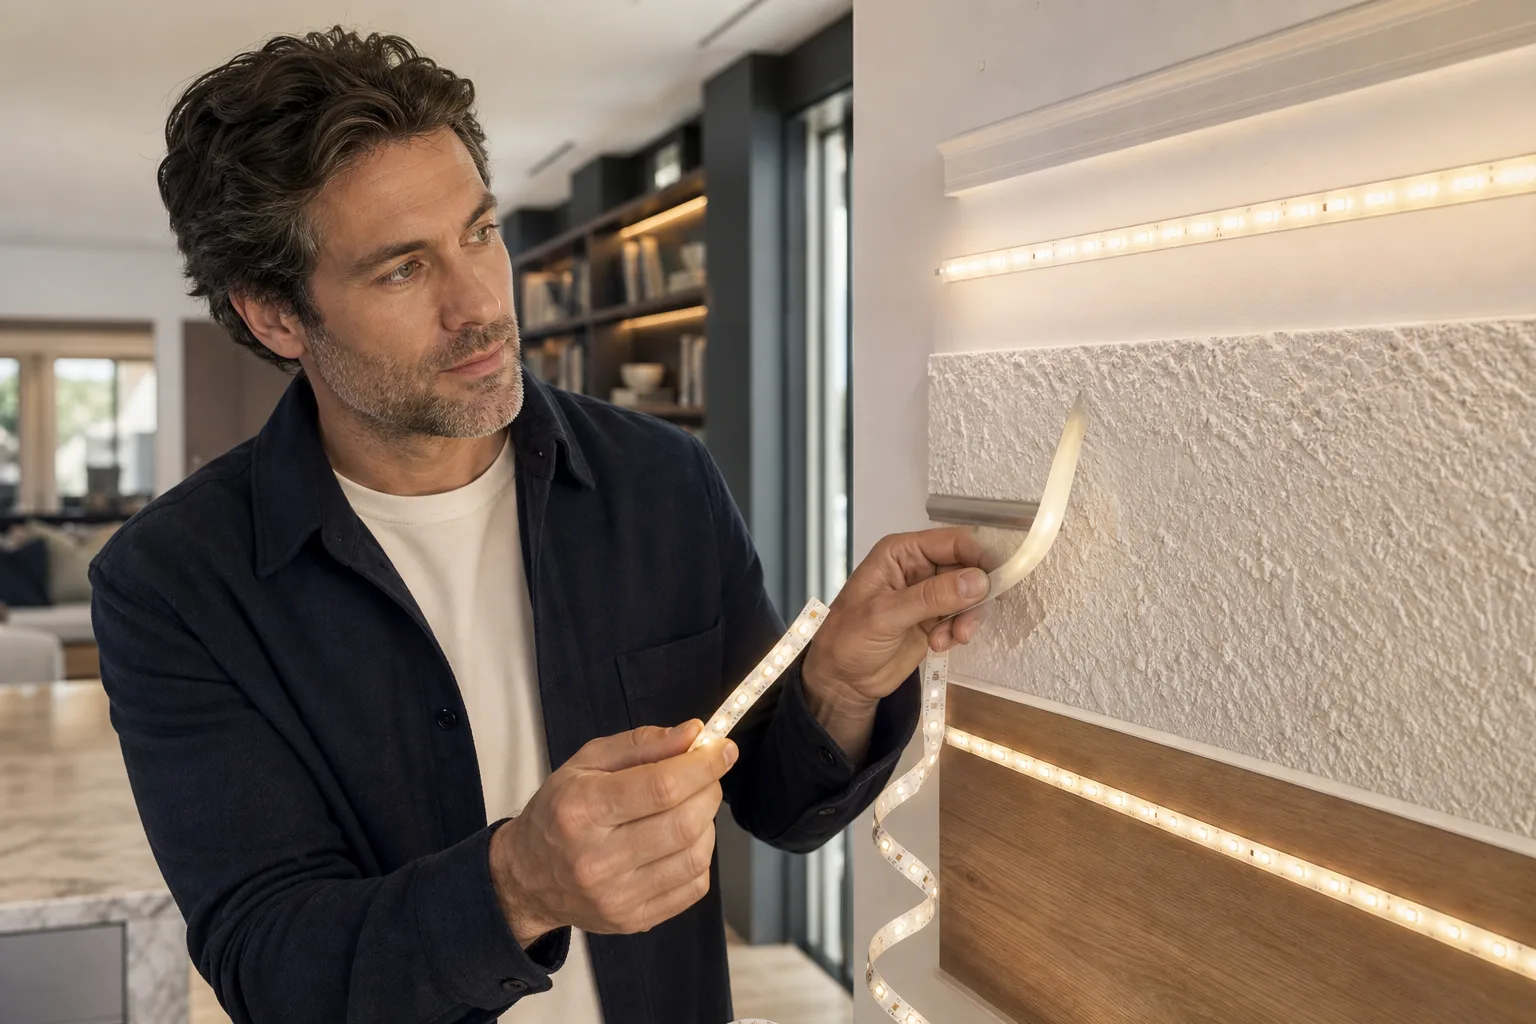
If your LED strip keeps falling off the wall, the adhesive may not be the only problem. Dusty or textured paint, heat, a heavy waterproof coating, sharp bends and unsupported wires can all pull the strip away. Start by unplugging the system, supporting any loose section and identifying what separated. Smooth, stable surfaces may only need careful cleaning and new compatible mounting tape. Rough, chalky, warm or overhead surfaces generally need clips or a mechanically fastened aluminum channel.
First, identify which part of the installation failed
Do not press a hanging strip back into place while it is powered. Disconnect the plug-in power supply first, then support the strip so its copper pads, connectors and wires are not carrying its weight. If the strip is hardwired rather than connected through a removable plug-in adapter, switch off the circuit and call a licensed electrician if you cannot verify that it is de-energized.
Look closely at the wall, the old adhesive and the back of the strip. The location of the residue usually reveals the weak point:
- Tape remains on the strip: the bond between the adhesive and wall failed. Contamination, texture, moisture or an unstable coating is likely.
- Tape remains on the wall: the bond to the strip's backing failed, or heat and tension gradually pulled the flexible circuit away.
- Paint or drywall paper comes off: the wall finish failed. Stronger tape will not repair weak paint and may cause more damage.
- The strip falls near corners or connectors: bend stress, cable weight or a connector acting as a lever is probably contributing.
- Only the warmest section releases: operating temperature may be reducing the adhesive's holding ability.
Pressure-sensitive adhesive performance depends on factors including surface preparation, pressure, temperature and sustained load. NIST research has specifically examined the temperature dependence of peel force and the effects of cleanliness, pressure and temperature on tape-bonded seams.[1] That does not provide a universal household mounting specification, but it supports treating the installation conditions—not just the tape brand—as part of the diagnosis.
Match the mounting method to the wall or cabinet surface
Self-adhesive backing works best on a smooth, clean, dry and stable surface. It becomes less predictable on porous, powdery or heavily textured finishes because only the high points touch the adhesive. Use the following table as a practical starting point, then follow the strip and mounting-product instructions.
| Mounting surface | Likely issue | More reliable approach |
|---|---|---|
| Smooth, fully cured painted wall | Dust, cleaner residue or low initial pressure | Clean by a method compatible with the paint, dry completely and apply fresh mounting tape rated for both surfaces |
| Flat, chalky or poorly bonded paint | The paint layer releases from the wall | Repair or seal the finish, or fasten a channel into sound material |
| Textured wall or ceiling | Too little adhesive contact area | Use screw-mounted clips or an aluminum channel with suitable anchors |
| Unfinished brick, masonry or concrete | Dust, pores and irregularities prevent a continuous bond | Use a channel and fasteners selected for the substrate |
| Wood or laminate cabinet | Grease, polish or steam contamination | Clean without damaging the finish; use clips or a low-profile channel for task lighting |
| Wallpaper or a rental wall | Adhesive can lift or discolor the finish | Use a removable mounting plan or attach the strip to furniture rather than the wall |
| Metal or glass | Fingerprints, condensation or cleaner film | Clean and dry thoroughly; use compatible tape or a channel where heat and weight are significant |
Cleaning without damaging the finish
Remove loose dust with a clean, lint-free cloth. For grease or cleaner residue, follow the wall, cabinet or finish manufacturer's care instructions and test the method in an inconspicuous spot. Isopropyl alcohol is often specified for applying adhesive products to compatible nonporous surfaces, but it can mark some paints, plastics and furniture finishes. Do not assume it is safe everywhere.
Allow the surface to become completely dry and avoid touching it afterward. Do not mount over fresh paint until the paint manufacturer says the coating is fully cured; paint that feels dry can still be developing its final hardness.
Account for strip weight, bends and cable pull
The strip is only one part of the load. Silicone-coated or weather-resistant tape can be heavier than an uncoated strip, while solderless connectors, extension leads and control modules create concentrated loads. Adhesive also has to resist continuous peeling when the strip is mounted under a shelf, across a ceiling or around a curve.
Support every component separately
Do not let a power lead hang from the strip's copper pads or connector. Secure the wire independently and leave a small, relaxed service loop rather than pulling it tight. Controllers and in-line connectors should rest on a shelf or have their own approved mounting point.
For clips, a simple planning check is:
Approximate load per clip = supported assembly weight ÷ number of clips.
For example, if a strip-and-channel assembly weighs 600 grams and is supported by 12 evenly placed clips, the static average is 50 grams per clip. Real loads are not perfectly equal, and corners, cable pull and installation overhead increase stress, so this calculation is only a layout check—not a structural rating. Follow the clip manufacturer's spacing and load instructions.
Do not force the strip around a sharp corner
A tight fold creates spring force that continually tries to lift the strip. It can also damage conductors or components. Follow the product's stated minimum bend radius and bending direction. Where a flat strip must turn through a wall corner, use an approved corner connector or cut and reconnect only at the marked cut points. Never staple through the flexible circuit.
Heat can weaken the installation
LEDs are efficient, but they still produce heat. ENERGY STAR describes thermal management as a major factor in successful LED performance and notes that higher LED operating temperatures accelerate light degradation.[2] Adhesive response to temperature varies by formulation, so a strip that stays attached when cool may begin releasing after long operating periods or in a hot cove or cabinet.
Estimate the electrical load
Use the strip's rated watts per meter or watts per foot:
Total strip power = rated power per unit length × installed length.
A 5-meter strip rated at 14.4 watts per meter has a nominal load of 72 watts: 14.4 × 5 = 72. This does not predict the exact surface temperature, which also depends on LED density, dimming level, airflow, ambient temperature and the mounting material. It does show why a high-output strip requires more thermal consideration than a short decorative run.
When an aluminum channel helps
An aluminum channel provides a straight, rigid mounting surface and can help spread heat when the product is designed for that use. The Illuminating Engineering Society recommends aluminum channel or a heat sink for long, straight cove-lighting runs.[3] A diffuser can also soften visible LED points, although it reduces some light output.
Fasten the channel to sound material with suitable screws or anchors, then mount the strip inside according to the channel and strip instructions. Do not cover the LEDs with household tape, bury the strip in insulation or enclose the driver without required ventilation. Dimming can reduce power while the strip is dimmed, but it is not a substitute for a secure mount or adequate heat management.
How to remount a falling LED strip
- Disconnect power. Unplug the power supply and prevent loose conductors from contacting metal.
- Remove the strip gently. Work slowly to avoid tearing flexible conductors or pulling paint from the wall.
- Inspect for damage. Replace sections with cracked insulation, torn copper pads, scorched areas, damaged connectors or exposed conductors.
- Remove failed adhesive. Use only methods that are safe for both the strip backing and mounting surface. Do not soak the electronics with solvent.
- Clean and dry the surface. Remove dust, grease and residue without weakening the wall finish.
- Dry-fit the route. Mark corners, cut points, cable supports and the location of the power supply before exposing new adhesive.
- Choose the mount. Use compatible replacement tape only on smooth, stable surfaces. Choose clips or channel for texture, heat, heavier strips, ceilings and long runs.
- Apply even pressure. Avoid pressing directly on LED packages or other raised components. Observe the adhesive manufacturer's application temperature and wait time before loading the bond.
- Relieve cable strain. Secure leads and controllers separately so they do not pull on the strip.
- Reconnect and observe. Check for flickering, unusual odor, excessive localized heat or a connector that begins lifting the strip.
Choose a more durable lighting layout
Mounting problems sometimes indicate that flexible tape is being asked to serve as the wrong type of fixture. LED strips work well as an accent layer in coves, behind televisions, beneath shelving or inside channels. For primary countertop task lighting, a rigid undercabinet fixture or a strip in a fastened channel may be easier to align, protect and maintain.
Plan the strip as part of layered room lighting: ambient light for general visibility, task light where work occurs and accent light for depth or emphasis. A concealed strip should produce a controlled wash rather than becoming the only light source in a room. Place the strip far enough from a reflective wall or countertop to avoid a row of bright dots, or use a deeper channel and diffuser.
Before installing a long run, confirm the strip voltage, power-supply capacity and controller compatibility. The power supply should be identified for the lighting system and installed in an accessible, ventilated location permitted by its instructions. UL notes that lighting safety evaluations address fire, electric-shock, contact-burn and mounting-failure risks, and that certified remote power units address important hazards in low-voltage portable luminaires.[4]
When to stop and call an electrician
Adhesive replacement is normally a mechanical task when the product uses an intact plug-in low-voltage supply. Electrical alterations are different. Hire a licensed electrician for hardwired drivers, new receptacles, wiring concealed in walls, damaged mains cords, wet-location installations or any work requiring changes to household wiring.
Disconnect the system and seek qualified help if you see melted insulation, exposed copper, scorch marks, arcing, repeated breaker or GFCI trips, a swollen power supply, or heat concentrated at a connector. Do not replace a power supply with one that merely fits the plug; voltage, current capacity, polarity, control method and product-system compatibility all matter.
NFPA 70, the National Electrical Code, provides the benchmark for safer electrical design and installation in the United States.[5] Local adoption and amendments vary, so the edition enforced in your jurisdiction may differ from the latest published edition. A licensed local electrician or electrical inspector can determine which requirements apply.
Frequently asked questions
Why does my LED strip keep falling even after I replace the tape?
Repeated failure usually means the mounting condition has not been corrected. Common causes include textured or weak paint, dust, grease, heat, strip weight, sharp bends and unsupported cables. Use clips or a mechanically fastened aluminum channel when the surface cannot provide a stable adhesive bond.
Can I use stronger double-sided tape on a painted wall?
Only if the tape is compatible with both the strip backing and the fully cured paint. Strong tape can remove poorly bonded paint or drywall paper. Test an inconspicuous area and use clips or channel if the finish is chalky, textured or already peeling.
Should I use clips or an aluminum channel for LED strips?
Clips can secure a light strip economically, while an aluminum channel creates a straighter mounting surface, protects the strip and may help spread heat. Channel is generally the more durable choice for long, warm, overhead or highly visible installations.
Can LED strip lights be stapled to a wall?
Do not drive ordinary staples through or across the flexible circuit. A staple can cut conductors, damage insulation or cause a short. Use clips designed for the strip's width or install a compatible channel.
When does a falling LED strip require an electrician?
Call a licensed electrician if the system is hardwired, household wiring must be changed, the installation is in a wet location, or you find exposed conductors, melted insulation, scorch marks, arcing or repeated breaker or GFCI trips.