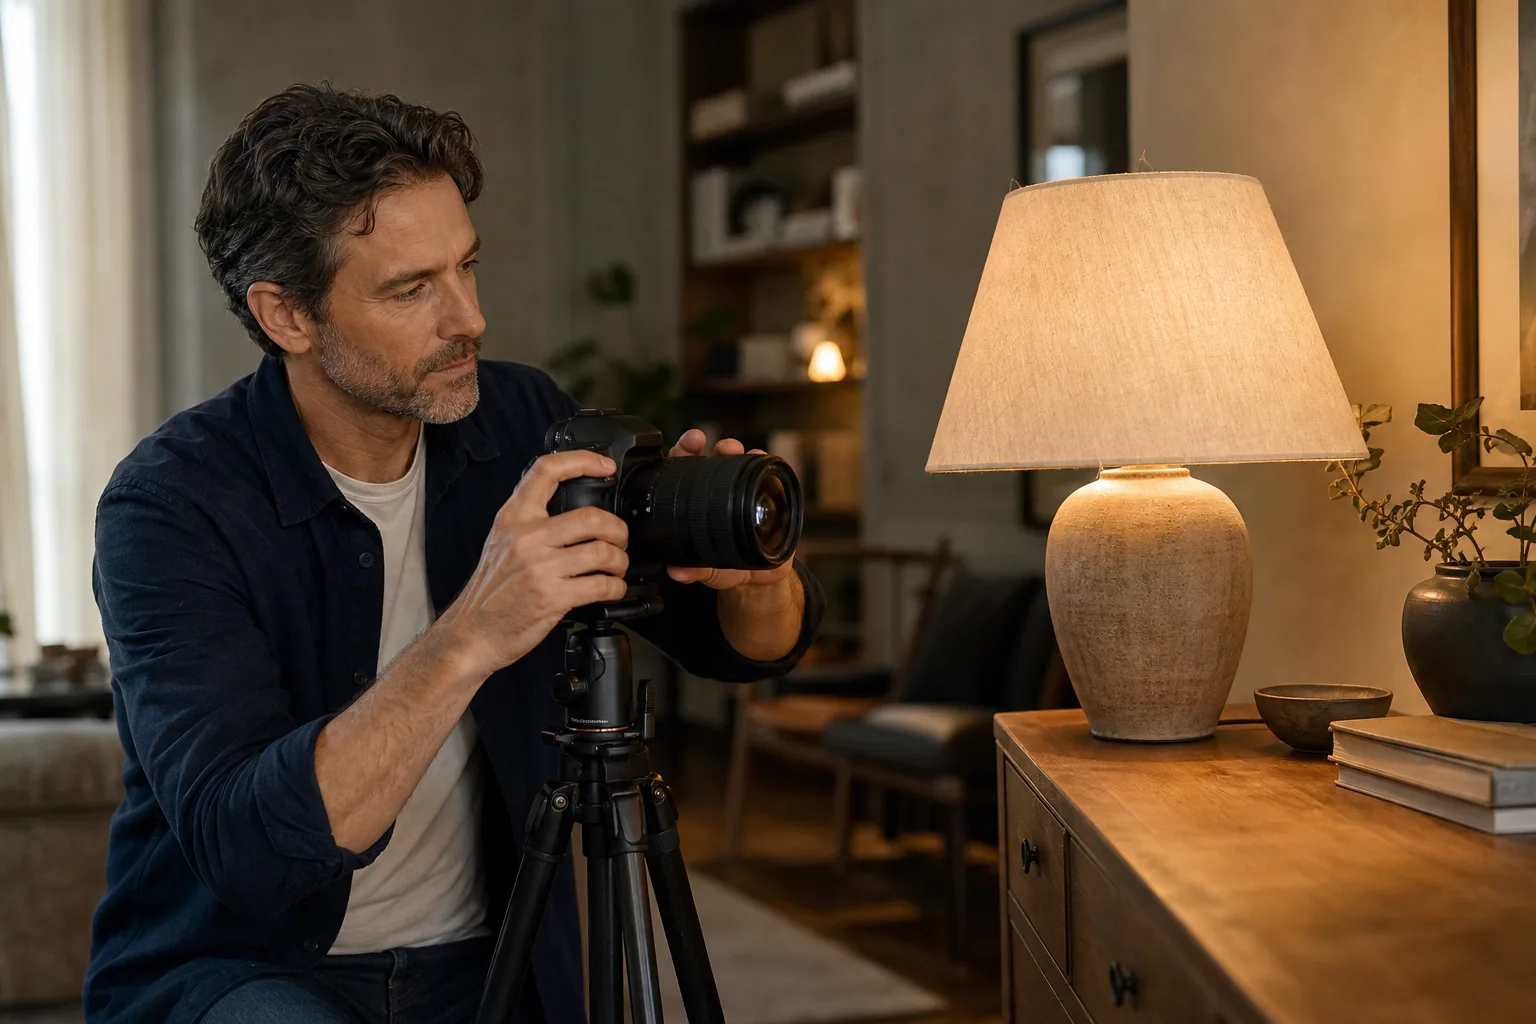
I am interested in a deceptively difficult lighting photograph: a lamp switched on in a room, looking luminous without turning into a blank white patch. The short answer is to expose for the lamp’s brightest important detail, reduce the contrast around it and then lift the darker parts of the image carefully. That usually means using a tripod, checking the histogram and highlight warning, lowering exposure until the shade or visible lamp retains structure, and adding gentle ambient light rather than trying to rescue everything afterward. These lamp photography tips are my working plan for making the fixture, its light and the surrounding room belong in the same photograph.
The real subject is not simply the lamp
A product photograph can isolate a fixture against a controlled background, but that is not always what I want from this exercise. I want to show what the lamp does: the glow on a nearby wall, the pool of light across a table, the translucent edge of a shade and the way a base reflects its surroundings. If I expose only for the room, the luminous areas may clip. If I expose only for the brightest point, the room may become needlessly dark.
The useful question is therefore not “How bright is the lamp?” but “Which bright details need to survive?” A bare filament, an opal globe and a fabric shade require different decisions. A visible light source may legitimately approach white, while a pleated shade should normally retain enough tonal variation for its form and material to remain readable.
Blown highlights versus intentional white
A highlight is not automatically a mistake because it reaches white. A tiny specular reflection on polished metal can be convincing when it clips. A broad featureless area across half a shade is more distracting because it removes information the viewer expects to see. I would judge the result by location and area, not by demanding that every pixel remain below an arbitrary value.
- Usually protect: shade texture, globe edges, decorative glass, illuminated labels and important reflections.
- Often acceptable near white: a small filament, the center of a bright LED source or a pinpoint reflection.
- Watch carefully: individual red, green or blue color channels, which can clip before the overall image looks completely overexposed.
Why illuminated lamps challenge a camera
The camera is being asked to record a self-luminous object and a comparatively dim room at once. The lamp may also throw hard reflections into glass, glazed ceramic, brass or polished stone. Moving the camera a few inches can change those reflections as much as changing the exposure.
Light-source color adds another layer. Correlated color temperature describes the apparent warmth or coolness of the emitted light, while color rendition concerns how the source changes the appearance of illuminated objects. The Illuminating Engineering Society defines CRI by comparing color shifts under a test source with those under a reference source of similar color temperature. IES also cautions that average fidelity alone cannot describe the whole visual experience, which is a useful reminder not to treat one number on a lamp package as a guarantee of photographic color quality. [1] [2]
RAW files help, but they do not reverse clipping
I would record RAW when the camera permits it because RAW files generally provide more room for white-balance and tonal adjustments than finished JPEGs. That flexibility cannot reconstruct a large highlight once all useful channel information has been clipped, however. The safer habit is to protect the important bright area during capture and accept that the initial frame may look darker than the intended final image.
My eight-step lamp photography walkthrough
- Decide what the photograph is about. Choose whether the priority is the fixture’s design, the material of its shade, the visible light source or the atmosphere it creates. Write that decision in one sentence before moving equipment.
- Simplify the scene. Remove bright screens, distracting cables and small reflective objects that compete with the lamp. Keep useful context such as a chair, book or wall texture when it helps explain scale and purpose.
- Stabilize the camera. Put the camera or phone on a tripod or firm support. A stable position allows a low ISO and longer exposure without relying on an unnecessarily wide aperture. Use a timer or remote release if touching the camera causes movement.
- Turn off automatic flash. Direct on-camera flash can flatten the lamp’s glow and introduce harsh reflections. If extra illumination is necessary, use a controllable light bounced from a neutral wall or softened through an appropriate photographic diffuser placed safely away from hot components.
- Set a deliberate starting exposure. Use the camera’s lowest practical ISO, select an aperture that provides the required depth of field and adjust shutter speed last. For a still lamp on a tripod, a longer shutter speed is usually easier to manage than a high ISO.
- Meter the brightest detail that matters. Take a frame, inspect the histogram and use highlight warnings if available. Reduce exposure until the shade weave, globe boundary or other chosen detail remains visible. Do not rely solely on the apparent brightness of the rear screen.
- Reduce contrast in the room. Rather than brightening the lamp, add low-level light to the dark side of the scene. Opening a curtain, bouncing a separate photographic light or placing a white card outside the frame can make shadows easier to record. Avoid mixing many different light colors unless the contrast is part of the idea.
- Capture a short bracket. Without moving the camera, make a small series such as the chosen exposure plus one darker and one brighter frame. The aim is insurance and comparison, not an obligation to produce an exaggerated composite.
For a phone, I would follow the same sequence in simpler form: lock focus and exposure on the lamp, drag the exposure control downward, stabilize the phone, disable automatic flash and capture several versions. A phone’s computational processing may change between frames, so reviewing enlarged images is more useful than assuming the first result is safe.
Match the method to the type of lamp
There is no single exposure recipe because a lamp can be an opaque object with a downward beam, a glowing volume or an almost bare point source. This table is the checklist I would use before choosing the camera position.
| Lamp appearance | Detail to protect | Likely problem | Useful first move |
|---|---|---|---|
| Fabric or paper shade | Texture, seams and edge shape | Large featureless white area | Lower exposure, then add soft room fill |
| Opal glass globe | Round boundary and brightness gradient | Flat white disc with no volume | Photograph slightly off-axis and expose for the globe edge |
| Clear lamp with visible filament | Filament shape and glass outline | Severe contrast with the room | Use the dimmest stable setting or compatible lower-output lamp |
| Metal task lamp | Form, finish and directed beam | Bright specular reflections | Move the camera or add a large white reflector |
| Colored decorative lamp | Hue and internal gradation | One color channel clipping | Check the RGB histogram and make a darker exposure |
| Integrated LED fixture | Diffuser pattern and surrounding effect | Banding, flicker or uneven brightness | Test several shutter speeds before changing the scene |
Change the viewpoint before adding equipment
Reflective lamp bases behave like curved mirrors. A bright window, camera, photographer or untidy room may appear in them. Moving sideways, raising the camera or rotating the lamp slightly can clean the reflection without retouching. A large white card can produce a controlled highlight that describes curved metal or ceramic more clearly than a collection of small room reflections.
Color, flicker and mixed lighting
I would begin with a neutral or deliberately chosen white balance rather than asking automatic white balance to remove all warmth. A warm lamp is allowed to look warm. The target is believable separation between the lamp, nearby surfaces and any daylight—not necessarily a mathematically neutral shade.
When daylight and a warm lamp appear together, one part of the frame may look blue if the other is corrected fully. Possible responses include reducing the daylight with curtains, photographing when exterior light is lower, replacing the room’s secondary lamps with closer color temperatures, or keeping the contrast because it communicates time and atmosphere.
Test for temporal light modulation
Some LED and other electronically controlled sources vary in output over time. The U.S. Department of Energy notes that this temporal light modulation may interact with cameras and that an observer-oriented metric cannot necessarily predict a video camera’s response. LEDs can respond rapidly to the waveform produced by their driver and dimmer electronics. [3]
In a still photograph, the result may appear as dark bands, uneven illumination or inconsistent exposure across a sequence. If I see that, I would test a slower shutter speed so the exposure covers more modulation cycles. I would also try the lamp at full output, because dimming can change driver behavior. If the fixture has a specified compatible control, I would use it rather than improvising an electrical workaround. Persistent banding is a characteristic to document, not something worth dismantling a lamp to investigate.
Keep the setup physically and electrically safe
A photograph is not a reason to exceed a fixture’s marked lamp rating, fit an incompatible lamp, bypass a switch or driver, defeat a shade support, or open a wired luminaire. UL’s consumer electrical-safety resources specifically direct attention to correct bulb selection and the risks of DIY electrical wiring. [4]
- Read the fixture label and lamp instructions before substituting a light source.
- Keep paper, fabric, foam board and photographic diffusion away from hot lamps and ventilation openings.
- Let hot lamps cool before repositioning or removing them.
- Do not balance a lamp precariously to improve the angle; move the camera instead.
- Route tripod legs and cables so they do not create a trip hazard.
- Stop using a lamp that has a damaged cord, loose socket, scorch marks, unusual smell, arcing or exposed conductors.
- Ask a licensed electrician to handle damaged wiring, hardwired fixture alterations, dimmer replacement or any diagnosis requiring the luminaire to be opened.
For this exercise, control should come from exposure, composition and safe photographic lighting—not from modifying mains-voltage equipment.
Edit for the memory of light, not maximum brightness
My editing order would be restrained: set overall white balance, lower highlights, establish the black point, lift only the shadows that need information, and then refine local contrast around the fixture. Heavy global shadow recovery can make a night or evening room look gray, while excessive highlight reduction can turn a luminous shade into dull fabric.
A local adjustment around the lamp may be more convincing than moving the entire image. I would look for a gradient across the shade, separation at its edge and enough surrounding darkness for the source to feel bright. If a bracketed frame contains better shade detail, a subtle blend can be appropriate, but the result should not create halos, doubled edges or a room whose every surface is equally bright.
Final pre-publication checklist
- Does the lamp still appear to emit light?
- Is the important shade, globe or filament detail present?
- Are reflections describing the material rather than hiding it?
- Does the room retain intentional areas of shadow?
- Are colors believable for the actual combination of sources?
- Have I checked for banding at full size?
- Are cords, labels and fixture details represented honestly?
- Would a darker frame communicate the atmosphere better?
This is entry #3 in Ross’s 100 Things to Do, following my broader attempt to notice the lighting moments that make a room feel better. The exercise interests me because it joins photography to lighting practice: the final image should show not only an attractive object, but also the relationship between a source, a material and a room. Readers building their technical vocabulary can continue with the site’s lighting basics, while practical equipment and calculation resources belong in tools.
Frequently asked questions
How do I photograph a glowing lamp without overexposing the shade?
Stabilize the camera, use a low ISO and reduce exposure until the shade retains its texture or brightness gradient. Then add soft ambient fill or lift selected shadows during editing instead of increasing the lamp exposure.
Should I expose for the lamp or for the room?
Expose for the brightest lamp detail that must remain visible, such as a shade, globe edge or filament shape. Let the room begin slightly dark and balance it with safe fill light, a reflector or restrained shadow adjustments.
Why do LED lamps produce dark bands in photographs?
Some LED drivers vary light output rapidly over time. A camera shutter can record part of that cycle as bands or uneven brightness. Try a slower shutter speed, test the lamp at full output and use only compatible dimming controls.
Is it acceptable for the center of a bulb to appear pure white?
Yes, when the clipped area is small and intentional. A pinpoint filament or bright reflection can reach white while the surrounding glass, shade or fixture still retains enough detail to describe its form.
Questions & discussion
Share a question or a useful experience about this guide. Comments appear immediately. Your name and comment are public. Email is optional and stays private; reply emails are not enabled yet. Comment privacy.