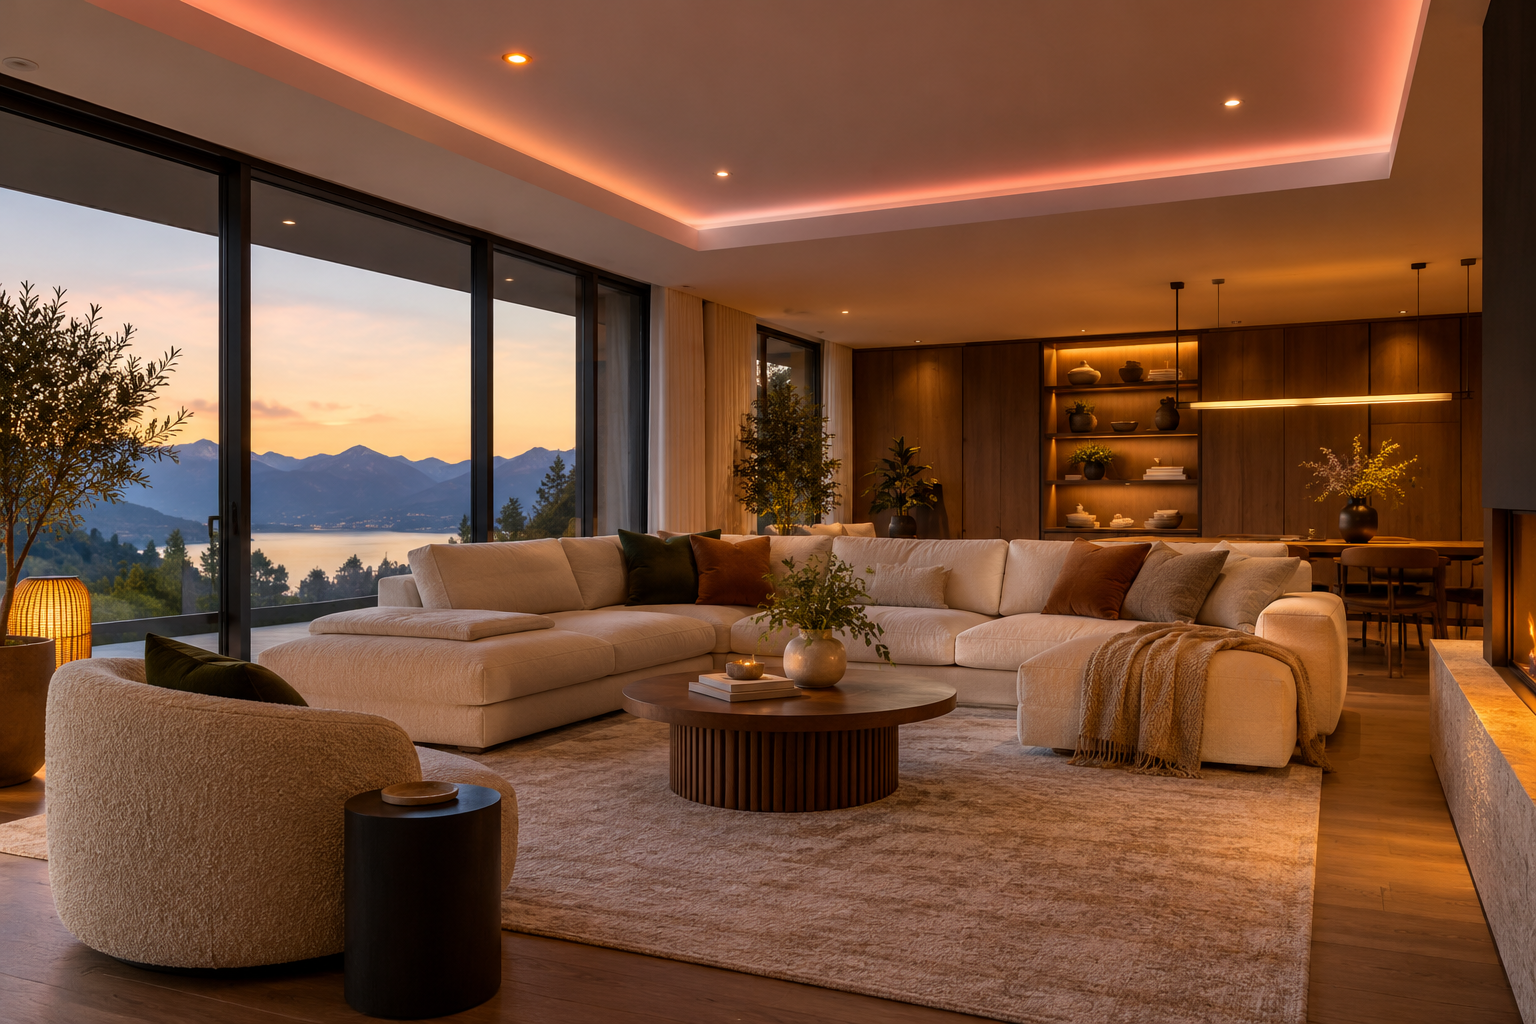
A WLED-controlled COB strip can give a ceiling cove a continuous-looking line of colour and moving effects. The right choice depends on three questions: which colour channels you need, how you will power the length, and how large an animated pixel can be before the effect looks too coarse. Check the complete strip specification rather than relying on a chip name or a listing’s photograph.
Plan a separate layer of general and task lighting for the room. Addressable strips are excellent for atmosphere, but the white-light quality and usable brightness of a particular installation may not be enough for cooking, reading or everyday room lighting. Some RGBW products have good white-light measurements; that does not establish the performance of every strip. Compare the exact white channel and output at the surface you need to light before assigning it a task.
Choose the channels first
RGB strips mix red, green and blue for coloured effects. They can also mix those colours to make an approximation of white, but that is not the same as having a dedicated white emitter. If white light matters, look at RGBW, which adds a white channel, or RGBCCT, which adds warm and cool white channels. Different products use different names, so check the actual channel list in the product data.
A dedicated white channel makes it possible to choose a strip intended to produce white directly, but its colour rendering and temperature still depend on the product. Ask for the colour-rendering data, colour temperature, output and any measurement conditions for that white channel. Check whether your chosen controller and WLED configuration support the strip’s protocol and number of channels. A control board that works with one RGB strip is not automatically compatible with every RGBW or five-channel strip.
If colour effects are the main goal, an RGB strip may be enough. If you also want a comfortable white accent, compare a dedicated white channel against the room’s other lights. If adjustable white is important, confirm how the warm and cool channels are controlled. None of those decisions requires selecting a single supposedly best model for every room.
Confirm that the strip is actually COB
COB describes the construction of the light-emitting surface, not a universal control protocol. Some listings use familiar chip names loosely. WS2812B commonly identifies an individually addressable LED package, whereas an addressable COB product can use a different control arrangement. A listing labelled “WS2812B COB” deserves a closer look: request a photograph, the exact product sheet and an explanation of how the LEDs and control chips are arranged.
WS2811, WS2814 and WS2805 names appear on different addressable strip products, including products with different channel arrangements. The name alone is not enough to establish the construction, voltage or pixel spacing. For example, an opened WS2814 product manual describes different 12 V and 24 V variants with different LED and controller densities. Check the exact variant instead of transferring its figures to a different COB strip.
The useful buying question is not “does the title contain COB?” but “what will the light look like in my channel, and how many separate sections can my controller address?” Ask for a close photograph of the unlit strip, a short video of the intended effects and a datasheet that names the controller protocol. Make sure the seller’s returns policy covers a mismatch between the listing and the delivered item.
LED density and pixel size are different
The number of LEDs per metre tells you how closely light sources are packed. The number of controllable pixels per metre tells you how many groups can receive independent commands. A strip can have many emitters but fewer pixels because several emitters share one control group. More LEDs may make the line look smoother without producing finer animation.
To calculate the nominal pixel length, divide one metre by the number of pixels per metre. A product with 20 pixels per metre has groups about 5 cm long; a product with 60 individually controlled pixels per metre has groups about 1.67 cm long. These are examples of the arithmetic, not specifications for every strip bearing a particular chip name. Use the actual data for the model and voltage you are buying.
Pixel size matters most when effects move slowly or when the strip is viewed directly. A broad cove that reflects colour from a ceiling can blend groups together; a narrow exposed line can make changes look more stepped. View a sample at the intended distance, with the actual diffuser and brightness. If the line is hidden and the effect is a slow wash of colour, very fine pixel spacing may not be worth the added complexity.
Also check cut marks and connector dimensions. A strip with fine-looking light may only be cut at intervals that make a short final section difficult. Lay out corners and the ends of the cove before ordering, and establish how each section will connect to the controller and power supply.
Make the power plan fit the length
Long coves need a distribution plan, not just a larger power supply. Start with the installed length and rated watts per metre, then add the controller and any other loads according to their instructions. The LED strip power calculator can help organise the calculation. Compare the result with the power supply’s rating and the manufacturer’s required margin; check current and wire size for each branch as well as the total wattage.
Voltage drop can cause the far end of a long strip to become dimmer or shift colour. A 24 V design can be useful for a long run, but it does not eliminate the need to follow maximum-run limits. Plan shorter sections, appropriately sized wiring and additional power feeds where the product and calculation require them. For a cove around 26 metres, develop a segmented supply plan before fitting the channel rather than assuming that one end feed will work.
The position and number of feed points depend on the strip’s actual current, conductor length, wire size and manufacturer guidance. There is no reliable universal spacing. Follow the controller and power-supply instructions for fuses, shared ground and connections; do not power a long strip from a small controller board’s output pin. With multiple supplies, follow the makers’ instructions for how their outputs and grounds are connected. If that plan is unclear, ask a qualified installer to design it.
Keep the power supply and controller accessible and within their permitted installation conditions. Allow the stated ventilation and avoid enclosing a driver in an unserviceable wall cavity. For mains connections, new outlets, hardwired equipment or concealed line-voltage wiring, use a qualified electrician and follow local rules. If you are unsure about current, wiring or fusing, get professional help with the low-voltage design too. Disconnect power before working on the system.
Give the room another source of useful light
A cove aimed at the ceiling loses some useful light to the direction of the beam, the surface it strikes and the diffuser. The result may be pleasant as ambient light while leaving a worktop or reading chair insufficiently lit. A room used for dining, cooking and relaxing needs different layers: general light for orientation, task light at working surfaces and accent light for atmosphere.
Before ordering a long run, compare the strip’s white-channel data and projected output with the room’s needs. Do not assume that the wattage of a colour-changing strip predicts useful white light. Consider how the selected white looks beside the other fixtures, how it dims, and whether the effect is comfortable when the coloured channels are off. The cove lighting guide covers placement and the rest of the lighting plan.
A practical trial is a short sample installed in the intended channel and viewed from the usual standing and seated positions. Check whether you can see individual points, whether animation looks smooth enough and whether the white accent complements the rest of the room. A sample cannot prove long-term reliability, but it can prevent an expensive mistake in appearance.
Before placing the order
- Confirm the exact construction and control protocol; a chip label alone does not establish COB construction.
- Choose RGB, RGBW or warm-and-cool-white channels to match the intended use.
- Record voltage, rated watts per metre and the manufacturer’s maximum continuous run.
- Compare LEDs per metre with pixels per metre and calculate the length of one controlled group.
- Draw the power feeds, controller, wiring, fuses and access points for the full installation.
- Choose separate general and task lighting and check the strip’s white-channel specifications.
The best strip is the one whose light, effects and power plan fit the actual room. Confirm all six items together before buying the full length.
Questions & discussion
Share a question or a useful experience about this guide. Comments appear immediately. Your name and comment are public. Email is optional and stays private; reply emails are not enabled yet. Comment privacy.