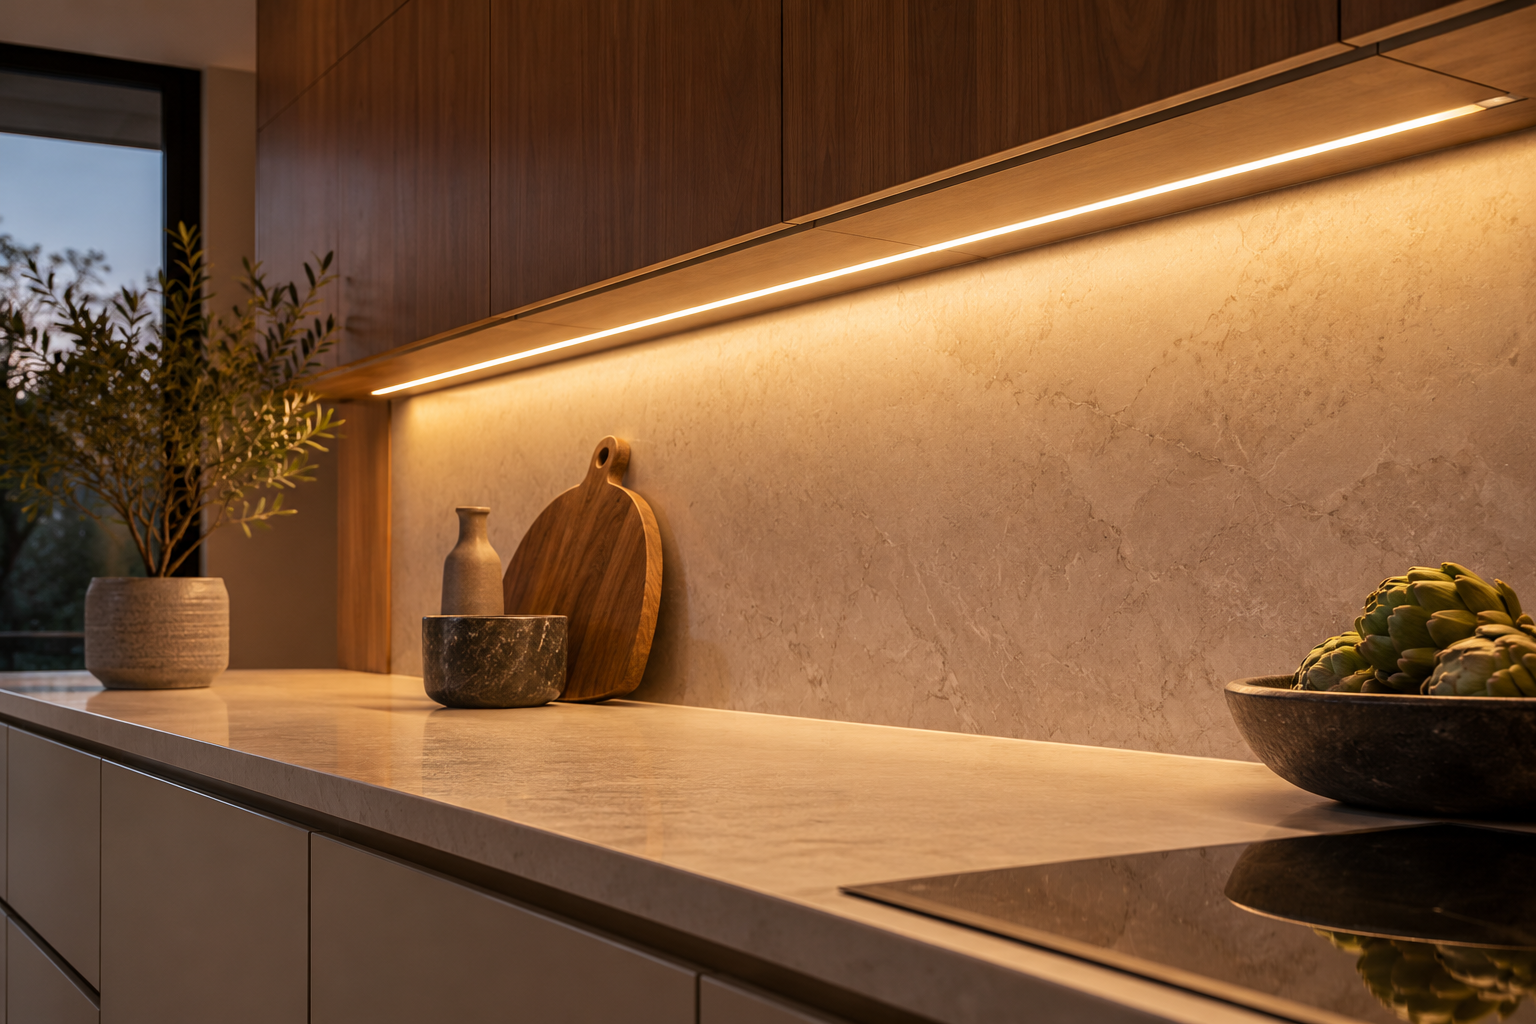
A premium linear light and a strip assembled from separate parts can both make an attractive line above kitchen cabinets. The useful comparison is not the price per metre alone: compare the light delivered into the room, the complete parts list, installation work and the cost of fixing a failure later. If the light must replace the kitchen’s main fixture, check the room lighting plan before committing to either option.
An angled channel above the cabinets can reflect light off the ceiling and create a soft general glow. That indirect route also changes the amount and direction of light reaching the room. It may leave the worktop in shadow even when the ceiling looks bright. Keep under-cabinet task lighting or another suitable source in the plan where needed, and use the lumens calculator as a starting point for the room rather than treating a decorative line as an automatic replacement for every fixture.
Decide what the light has to do
Measure the actual cabinet run, including corners and gaps. Note the mounting height, ceiling colour and the angle at which the channel will face. A 45-degree channel is a placement choice, not a guarantee of a particular brightness pattern. Draw the location of the proposed driver, controller and power connection as well as the light itself. If the top of the cabinet is visible from another floor or seating position, consider whether the channel and cover will be in view.
Choose the desired colour temperature alongside the other kitchen lights. A warm cove next to a much cooler worktop light may look disconnected even if each fixture is attractive on its own. Compare colour rendering for the actual products where accurate colours matter, especially on food and finishes. Request both the strip’s output and the finished fixture’s output where available: a cover and reflected ceiling can reduce the useful light compared with the bare LED specification.
Estimate how long the kitchen lights will be used on a typical day. A household used for a few evening hours and a commercial space lit most of the day have different operating demands. Longer use can make reliable service and published performance data more valuable, but hours alone do not establish that an expensive product is necessary or that a less expensive one will fail.
What a complete fixture may include
A premium quote can bundle a finished profile, optics, LEDs, a matched driver, controls, installation support and a warranty. Another quote may include only the fixture body. Ask each supplier to itemise what is included before deciding what the price gap buys. In particular, confirm whether the driver and dimmer are included, whether the quote covers installation, and whether delivery, corners and end caps are extra.
Compare the model-specific datasheets for colour rendering, colour temperature, output, permitted operating conditions and warranty. Ask how the fixture handles heat and what happens if the LEDs or driver fail. Better documentation and a clear service route may justify extra expense for a long, difficult-to-access installation. A premium name alone does not prove a longer service life or better light in your particular kitchen.
Check the warranty conditions carefully. Some warranties apply only when compatible components are used or when installation follows specified conditions. Find out who handles a claim: the product maker, retailer or installer. Also ask whether a failed light source can be replaced inside the profile, whether the full module must be changed and whether a matching part is available separately. Construction differs by model; a COB product is not automatically a sealed, unrepairable unit.
Build a complete DIY quote
A parts-based installation usually needs more than a reel of LED strip. List the strip, channel, diffuser, end caps, mounting clips, connectors, driver, controller or dimmer, wiring and any manufacturer-specified accessories. Add the cost of tools, delivery, spare materials and professional installation where relevant. Include the power outlet or electrical work needed to reach the driver. Compare that total with the complete fixture quote, using prices at the time of purchase; individual component prices change with location and specification.
A bundled diffuser and strip may cost differently from a separately purchased cover and strip. Compare both complete combinations, and confirm the strip fits the diffuser and works with the intended controller before assuming that parts can be mixed. A replacement strip can change the appearance, but its result depends on the particular combination.
Make the components compatible on paper before ordering. Match strip voltage to driver output, add the strip’s rated watts across all sections and follow the driver’s capacity and load instructions. Select the control protocol before buying a dimmer. The LED strip installation guide explains the planning process. A lower initial parts total can disappear if an incompatible controller or an inaccessible driver has to be replaced.
The channel affects both appearance and installation. A milky cover can soften visible points, but it also changes light output. Look at the finished combination rather than the channel or strip in isolation. If the channel is visible, ask whether the diffuser comes in lengths that minimise distracting joins. Check the strip’s width and connector height against the channel’s internal dimensions, and follow its mounting and heat-management instructions.
A replaceable strip can make service convenient, but the method matters. Ask whether the diffuser can be removed without damaging cabinetry and whether a future strip can be disconnected and refitted. A strip permanently trapped behind trim may be difficult to service even if the product itself is replaceable. Keep the model numbers and a simple wiring diagram with the kitchen documents.
Locate the driver and the power connection
A driver tucked inside or above a cabinet should remain reachable for inspection and replacement, with the ventilation and clearances required by its instructions. Decide where the power connection will be before the cabinets are finished. A plug-in, low-voltage kit can be a straightforward route when a suitable outlet already exists and the product is designed for that arrangement. Do not alter a plug-in driver or improvise a connection to mains wiring.
A new outlet, hardwired driver, concealed line-voltage wiring or work otherwise governed by local electrical rules should be handled by a qualified electrician. Low-voltage wiring also needs correct polarity, suitable connectors, wire sizing and protection for the actual current. If selecting those parts or assembling them is outside your experience, use a complete compatible system or ask a qualified professional to handle the installation. Disconnect power before handling components and never exceed the manufacturer’s ratings.
A good installer can also spot problems unrelated to the strip’s purchase price: a driver with no service access, a mounting surface that cannot support the channel, a corner with no room for the connector, or a proposed control that does not match the driver. Discuss these while the kitchen is still being planned. Retrofitting a power source after cabinetry and splashbacks are complete may require more work than expected.
Compare the proposals side by side
Ask each supplier to quote the same finished outcome: the same cabinet run, colour temperature, control method and level of installation. If one quote is for a supplied fixture and the other is for parts only, label that difference. A comparison is only meaningful when it includes all the pieces and work required to turn on the light.
Look at three costs separately. The purchase cost covers the fixture or components. The installation cost covers mounting, wiring and any needed outlet. The ownership cost covers service access, replacement parts and the warranty process. A modular arrangement may make a future repair simpler; an integrated system may offer convenient matching and support. Either can be a sensible choice if its documentation and service route fit the project.
Do not pay for a feature you will never use simply because the product is marketed for demanding projects. Equally, do not remove an essential driver, diffuser or electrician from the calculation to make a parts list look inexpensive. The right choice is the one that meets the kitchen’s light and safety requirements within the budget you are prepared to spend.
Seven checks before ordering or calling an electrician
- Estimate daily use and decide which lights will provide general and worktop illumination.
- Select a colour temperature and compare colour rendering and output for each exact model.
- Confirm the driver’s location, ventilation and future access.
- Identify the outlet or electrical work needed for the chosen power supply.
- Have the wiring, current and control compatibility checked for the full run.
- Check the diffuser length, visible joins and mounting method.
- Ask how the strip, module and driver are replaced and who honours the warranty.
Take the completed list to both the fixture supplier and the installer. It turns an apparently simple per-metre comparison into a decision about the finished kitchen.
Questions & discussion
Share a question or a useful experience about this guide. Comments appear immediately. Your name and comment are public. Email is optional and stays private; reply emails are not enabled yet. Comment privacy.