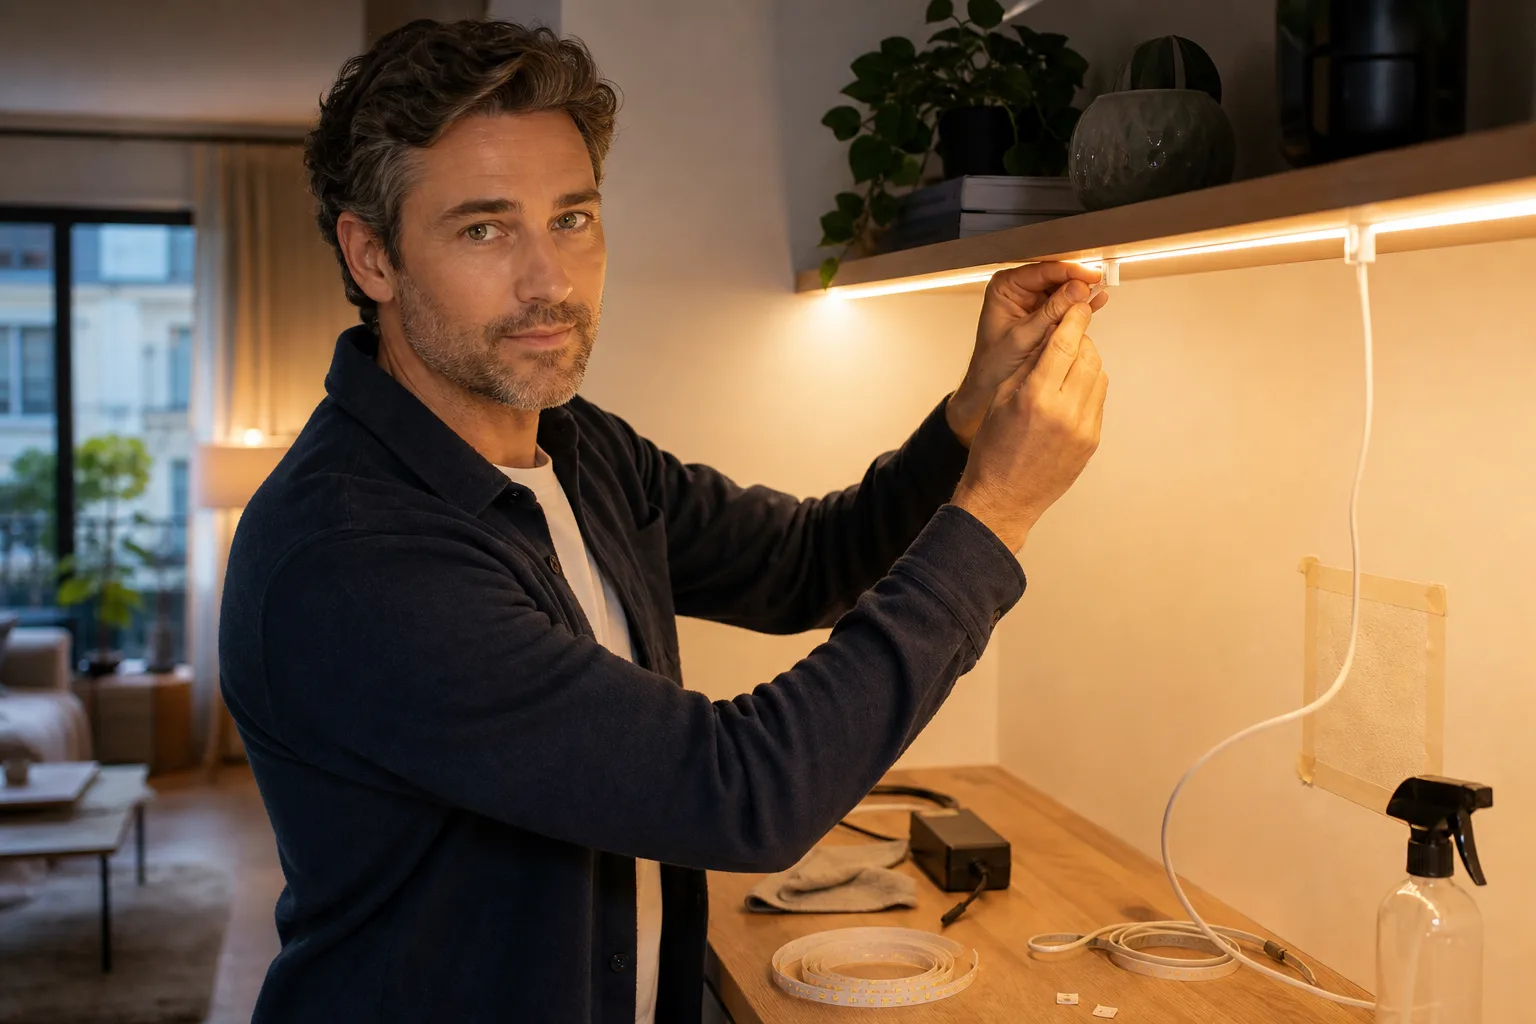
If you want to know how to hang LED strip lights without damaging wall paint, the safest practical answer is to avoid bonding the strip directly to the wall. Support it with removable cable-style clips, or place it in a lightweight LED channel held by removable fasteners. Test the complete mounting method in a hidden spot before installation. No adhesive product can guarantee damage-free removal because paint condition, surface preparation, humidity, installation time and removal technique all affect the result.
Choose a rental-friendly mounting method
Start by checking your lease and asking the landlord before mounting anything. A lease may restrict adhesives, screws or alterations even when a product is marketed as removable. Photograph the wall before work begins, especially if the paint already has cracks, bubbles, stains or loose edges.
Removable clips
Small clear clips provide support at intervals while leaving most of the strip unattached. Choose clips made for the strip's width and orientation; a clip that pinches the circuit board can damage conductors or LEDs. Position clips more closely around corners, connectors and changes in direction, where the strip experiences greater mechanical stress.
Clips are usually the simplest option for short, low-power decorative runs. Their disadvantages are visible mounting points and small pools of light if the strip sags between supports.
Lightweight aluminum or plastic channels
An LED channel keeps the strip straight and can accept a diffuser that softens visible LED dots. It also allows you to remove or replace the strip without repeatedly applying tape to the painted wall. Aluminum may help spread heat, although actual thermal performance depends on the strip, channel and installation.
A channel distributes the load, but it is heavier than a bare strip. Do not assume ordinary adhesive tabs can support it. Confirm that the mounting product is approved for the channel's weight, wall material and orientation. Ceiling installations are especially unforgiving because gravity constantly pulls away from the surface.
Direct adhesive mounting
Using the strip's factory adhesive directly on paint is fast but carries the greatest paint-removal risk. The adhesive may also release unevenly as the strip warms and cools. If direct mounting is unavoidable, use it only after a hidden-area test and only where the strip manufacturer permits installation on a painted surface.
The concern is not merely whether tape adheres. It is whether the paint remains bonded to the wall more strongly than the tape bonds to the paint. NIST describes adhesive-tape testing as a method for evaluating paint adhesion, illustrating that tape can expose a weak paint-to-substrate bond. That technical test is not a household mounting procedure, but the underlying limitation matters in a rental: sound-looking paint can still detach under adhesive force. NIST paint-adhesion research
Compare clips, channels and direct adhesive
| Method | Paint risk | Appearance | Best use | Main caution |
|---|---|---|---|---|
| Removable clips | Low to moderate after testing | Clips may remain visible | Short runs and temporary layouts | Do not pinch the strip or exceed the fastener rating |
| Channel on removable fasteners | Low to moderate after testing | Straight, finished line; diffuser optional | Visible walls, desks and shelving | Account for the channel's total weight |
| Direct strip adhesive | Moderate to high | Minimal hardware | Surfaces where paint damage is acceptable | Factory adhesive may pull paint or release over time |
| Screwed channel | Predictable holes rather than adhesive damage | Secure and tidy | Landlord-approved permanent mounting | Requires permission and correct wall anchors |
Small screw holes can sometimes be easier to repair than peeled paint, but only use mechanical fasteners with written permission. Before drilling, determine whether plumbing or electrical wiring could be concealed behind the surface. Stop and consult the landlord or a qualified professional if you cannot establish a safe fastening location.
Plan the strip before attaching anything
Decide what the light should do
LED strips are usually most effective as an accent or task layer rather than the room's only light. Ambient lighting provides general illumination, task lighting supports activities such as reading or desk work, and accent lighting highlights surfaces or objects. The Illuminating Engineering Society defines task-ambient lighting as task illumination combined with a lower, complementary ambient level. IES definition of task-ambient lighting
For a balanced room, use the strip to wash a wall, illuminate a shelf or add indirect light behind a headboard while a ceiling fixture or portable lamp supplies general light. See the guide to layered lighting for a broader room plan.
Measure the route and light output
Measure the intended path in feet or meters, including vertical drops and the distance to the controller. Do not count sharp inside corners as bend points unless the product specifically permits that bend radius. Use compatible corner connectors or separate sections where needed.
Light output is measured in lumens. A strip listed at 400 lumens per meter over a 3-meter run has a nominal output of:
Total lumens = 400 lm/m × 3 m = 1,200 lumens
This is a planning estimate. Diffusers, reflected installation, voltage drop, dimming and product tolerances can reduce delivered light. Learn how the unit works in the lumens guide.
Select color and visual quality
- Color temperature: Warm white around 2700–3000 kelvin generally suits relaxed living and bedroom lighting. Neutral or cooler white may be useful for task areas. Review the color-temperature guide.
- Color rendering: CRI indicates how faithfully a light source renders colors compared with its reference source. Higher values can be helpful near clothing, artwork and food. See what CRI means.
- LED spacing: Closely spaced LEDs and a deeper diffusing channel generally produce a more continuous line than widely spaced diodes.
- Glare: Hide the strip from normal sight lines when possible. Point it toward a wall, shelf or ceiling rather than directly toward seated or reclining occupants.
Prepare, test and mount the installation
Inspect and clean the surface
Do not apply adhesive over peeling paint, wallpaper, damp areas, textured coatings, fresh paint or chalky surfaces. Follow the mounting-product instructions for cleaning and required paint-curing time. Avoid strong solvents unless both the paint and fastener manufacturers explicitly permit them.
Run a hidden-area test
- Choose an inconspicuous area with the same paint and surface condition.
- Clean it exactly as you intend to clean the installation area.
- Apply the actual clip, tab or channel section—not a different brand or tape.
- Leave it in place for as long as practical. A brief test cannot predict months of aging.
- Remove it using the manufacturer's specified direction and speed.
- Check for discoloration, gloss changes, adhesive residue, softened paint or lifting.
If the test causes any change, switch to a landlord-approved mechanical method or use a freestanding solution, such as attaching the strip to furniture you own.
Dry-fit before exposing adhesive
Lay out the strip, controller, connectors and power cable first. Confirm that the plug reaches the receptacle without crossing a walkway, being pinched by furniture or relying on a cord concealed under a rug. Mark clip locations lightly with removable painter's tape rather than permanent ink.
Install without stressing the strip
Disconnect power during mounting. Support the strip near connectors, but leave enough slack to prevent a plug or solder joint from carrying the strip's weight. Do not staple through the strip, trap it beneath sharp hardware or fold it across a tight corner. Cut only at marked cut points and only when the manufacturer identifies the product as field-cuttable.
Size the power supply and use controls safely
LED strips may operate at low voltage, but the power supply connects to household electricity. Choose a complete, third-party-certified lighting system or compatible components specified by the manufacturer. UL Solutions notes that lighting safety evaluations address hazards including fire, electric shock and mounting failure, and that low-voltage LED products commonly use remote power units. UL Solutions portable-luminaire guidance
Calculate the connected load
If a strip uses 4.8 watts per foot and the planned run is 12 feet:
Connected load = 4.8 W/ft × 12 ft = 57.6 watts
The controller and power supply must support the strip's voltage and at least the calculated load. Follow the manufacturer's specified sizing margin. If no margin is stated, adding 20% planning headroom would produce 69.1 watts in this example, so the next suitable listed rating might be 72 or 75 watts. That 20% is a conservative planning assumption, not a substitute for product instructions or electrical requirements. The LED strip power tool can help organize the calculation.
Keep the driver ventilated, accessible and away from bedding, curtains and enclosed spaces unless it is specifically rated for that use. Department of Energy guidance identifies thermal management as important to LED performance and reliability. DOE LED lifetime guidance
Choose practical controls
An inline dimmer, remote or compatible smart controller can make accent lighting more useful. Confirm compatibility with the strip type: single-color, tunable-white, RGB or RGBW systems use different controllers and wiring. Place the controller where its receiver, button or reset access will not be blocked.
Do not hardwire a plug-in driver, install a new receptacle, modify fixed wiring or route line-voltage cable inside a wall as a DIY shortcut. Hire a licensed electrician for work involving household branch circuits, damaged receptacles, permanent wiring, wet locations or any installation whose instructions require professional connection.
Troubleshoot and remove the strip without rushing
If the strip falls or sags
- Disconnect power before handling loose sections.
- Check whether the surface was dusty, textured, damp or recently painted.
- Add compatible supports rather than placing stronger tape over failing adhesive.
- Reduce unsupported spans and relieve tension at connectors.
- Confirm that clips or tabs are rated for the combined weight and orientation.
If brightness or color is uneven
Check connector seating, polarity and controller compatibility. A long run that becomes dimmer toward the far end may have excessive voltage drop or exceed the manufacturer's maximum run length. Recalculate the load and use the wiring arrangement specified for the system. For mismatched RGB output, see why an LED strip displays the wrong colors.
Paint-friendly removal checklist
- Turn off and unplug the system.
- Remove the strip from its clips or channel before detaching wall fasteners.
- Support the channel so its weight does not peel the final fastener away.
- Use the fastener manufacturer's removal method. Stretch-release tabs generally must be pulled in their designed direction rather than pried outward.
- Work slowly and stop if the paint lifts, cracks or changes texture.
- Do not use a blade or strong solvent on the painted surface.
- Ask the landlord how to handle residue or existing paint failure rather than expanding the damaged area.
The best rental installation is reversible at every stage: the strip can be disconnected, the power supply remains accessible, and each support can be removed individually. Careful testing lowers risk, but the only way to eliminate adhesive-related paint risk is to avoid attaching adhesive to the painted wall.
Frequently asked questions
Can I stick LED strip lights directly to a rental wall?
You can, but direct adhesive mounting presents the highest risk of peeling paint or leaving residue. Removable clips or a lightweight channel usually provide a more reversible installation. Test the actual fastener on a hidden area first and confirm that adhesives are allowed by your lease.
Will removable adhesive strips definitely protect the paint?
No. Results depend on the paint's bond to the wall, its age and condition, surface preparation, humidity, load, installation duration and removal technique. A successful hidden-area test reduces uncertainty but cannot guarantee the result after months or years.
How many clips do I need for an LED strip?
Use the clip or strip manufacturer's spacing requirement when one is provided. Add support near connectors, corners and vertical changes, and shorten the spacing if the strip sags. Do not let connectors or solder joints carry the strip's weight.
When should an electrician install LED strip lighting?
Use a licensed electrician if the project requires a new receptacle, hardwiring, alterations to household wiring, work near damaged electrical equipment or an installation in a wet location. A typical plug-in low-voltage kit can usually be mounted without altering fixed wiring when its instructions are followed.
Questions & discussion
Share a question or a useful experience about this guide. Comments appear immediately. Your name and comment are public. Email is optional and stays private; reply emails are not enabled yet. Comment privacy.