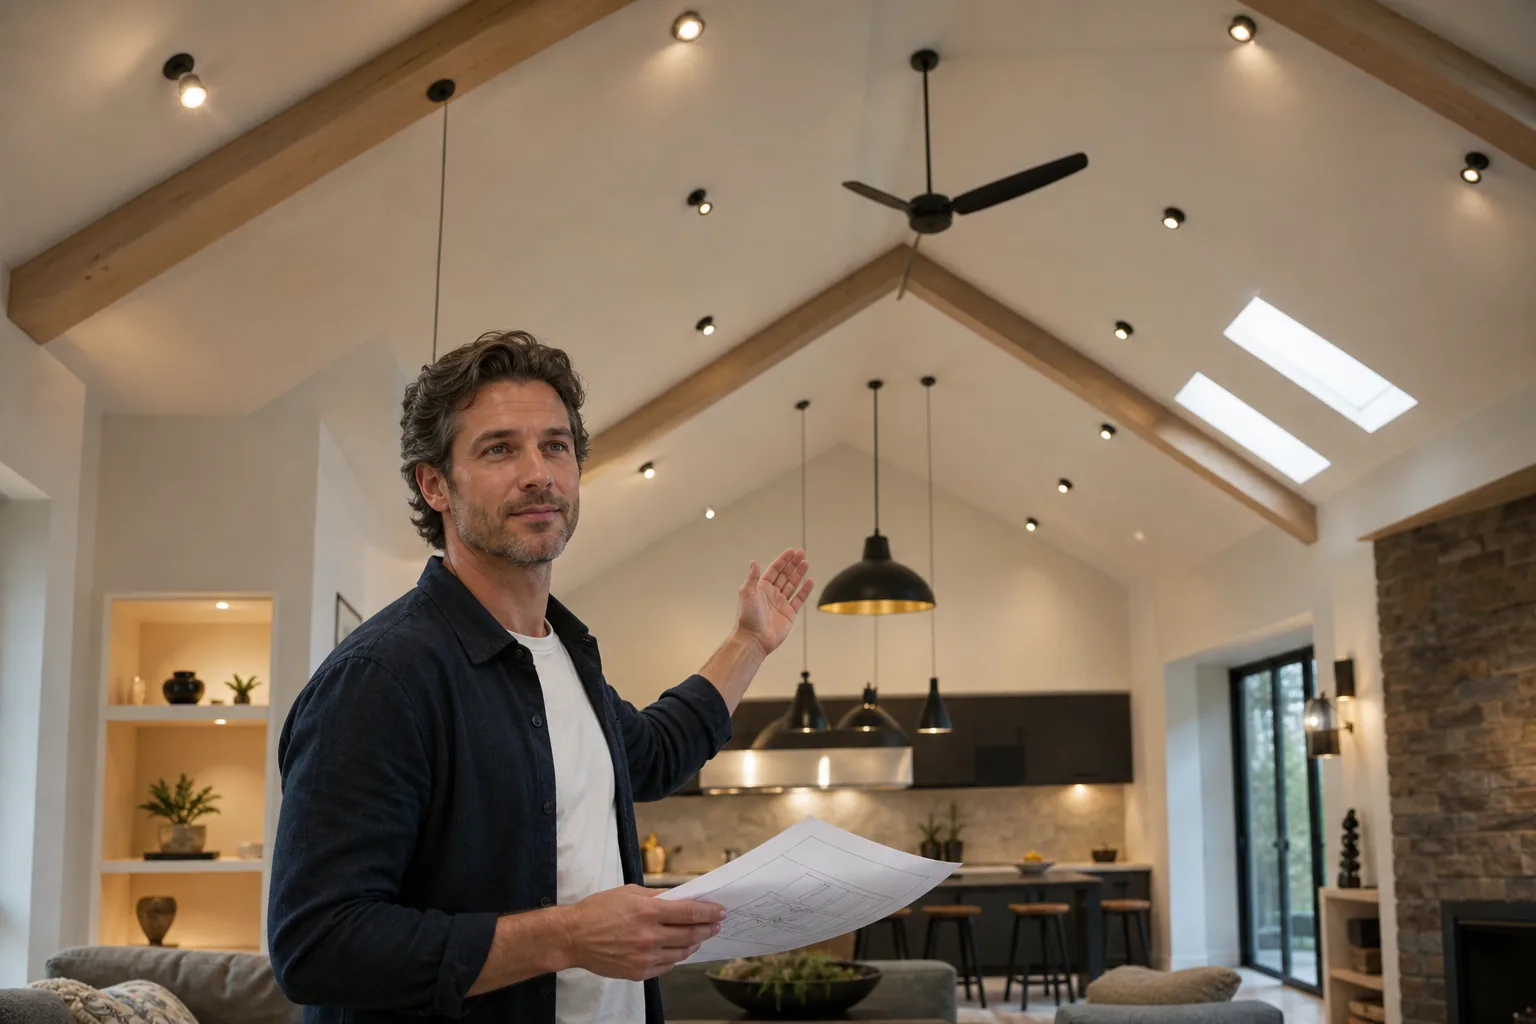
Good lighting for vaulted ceilings combines broad ambient light with targeted task and accent lighting. The key is to plan from the surfaces you want to illuminate—not simply from the highest point of the roof. Measure the room, estimate a starting lumen budget, account for the long distance between fixtures and useful surfaces, and choose adjustable or suspended fixtures where fixed downlights would waste light. Put the layers on separate controls so the room can change from cleaning-bright to comfortable at night.
Start with the room, not the fixture
A vaulted ceiling creates more volume and longer throw distances than a flat ceiling. A decorative pendant may look proportionate without lighting the room evenly, while recessed lights installed high on a slope may produce glare, bright patches or dim areas if their optics and aiming are wrong.
Begin by drawing a simple plan and marking:
- Room length and width.
- Height at the low edges and at the ridge.
- Ceiling slope and direction.
- Windows, skylights and major reflective surfaces.
- Furniture, counters, desks, artwork and reading positions.
- Existing junction boxes, switches and portable-lamp outlets.
Also note the ceiling and wall finishes. Pale matte surfaces generally return more useful light to the room than dark timber, brick or saturated paint. Treat a dark vaulted ceiling as a reason to provide more controlled light near tasks—not as a reason to install one excessively bright, exposed source.
Identify the actual lighting planes
The floor is rarely the only important plane. A kitchen counter, dining table or desk may be 30 to 36 inches above it, while artwork and bookshelves need vertical illumination. Calculate and aim light for those surfaces. The distance used in a beam calculation is the distance from the light source to the target plane, not automatically the full ceiling height.
Estimate lumens and beam coverage
Understand the units
Lumens describe total light output. Watts describe electrical power, so compare LED products by lumens rather than by an old incandescent watt equivalent. Illuminance describes light arriving on a surface. One foot-candle equals one lumen per square foot, while one lux equals one lumen per square meter. One foot-candle is approximately 10.76 lux. These unit relationships are defined by the Illuminating Engineering Society and NIST.
Use a planning estimate
For an initial estimate, choose an illuminance assumption for the general room, multiply it by floor area, and then allow for light that does not reach the working plane:
Delivered lumens = area in square feet × target foot-candles
Approximate fixture lumens = delivered lumens ÷ utilization allowance
For example, consider a 15-by-20-foot room. Its area is 300 square feet. If the planning assumption is 15 foot-candles of general ambient light, the working-plane requirement is 4,500 delivered lumens. Using a provisional utilization allowance of 0.60 gives:
4,500 ÷ 0.60 = 7,500 lumens from the ambient fixtures
The 0.60 allowance is an assumption, not a universal rating. A high, dark room with narrow beams may deliver less; a room with efficient optics and pale surfaces may deliver more. Product photometric files, mounting height, surface reflectance and fixture direction all affect the result. Use this calculation to establish an order of magnitude, then refine it with fixture data or a lighting professional. Ross’s lumens calculator can help with the first step.
Check the beam footprint
Beam angle describes the angular width bounded by the directions where intensity falls to 50% of the maximum, according to the IES definition. A useful geometric estimate is:
Beam diameter = 2 × distance to target × tan(beam angle ÷ 2)
A 40-degree beam aimed at a surface 10 feet away produces an approximate 7.3-foot beam diameter. At 16 feet, the same beam spreads to about 11.6 feet, but illuminance is lower because the light is distributed over a larger area. Use the beam-spread tool to compare mounting distances and angles. Remember that the edge of the calculated beam is not a hard cutoff; actual distributions vary by product.
Build three useful lighting layers
Residential lighting is commonly planned as ambient, task and accent layers. The U.S. Department of Energy’s residential lighting guidance describes ambient light as the base for occupancy and circulation, task light as support for specific activities, and accent light as visual emphasis. DOE guidance also emphasizes balancing visibility, color, glare control and efficiency rather than relying on a single metric.
Ambient lighting
Use ambient light to make movement comfortable and soften contrast across the room. Suitable options include an indirect pendant, chandelier, uplight, wall-mounted uplights, surface fixtures on lower ceiling sections or carefully spaced recessed downlights. Indirect light aimed at a pale ceiling can make the volume feel luminous, although it is less effective when the ceiling is dark or heavily textured.
Task lighting
Bring task light closer to where it is needed. Table and floor lamps often serve seating areas better than additional fixtures at the ridge. Pendants can place light over a dining table or island, while under-cabinet lighting supports kitchen work. A desk lamp is easier to position and control than a distant ceiling spotlight. See the layered-lighting guide and the relevant room guides for activity-specific planning.
Accent and architectural lighting
Adjustable track heads, monopoints and recessed adjustable fixtures can emphasize beams, stonework, art or tall walls. Aim across a surface rather than straight at the viewer. Accent lighting should create deliberate contrast; it should not be expected to provide all the room’s functional illumination.
Choose fixtures and LEDs that suit the height
| Fixture type | Useful role | What to check |
|---|---|---|
| Suspended pendant or chandelier | Ambient and decorative light brought closer to the occupied zone | Hanging height, sightlines, fixture weight, support box, uplight/downlight distribution and cleaning access |
| Adjustable recessed light | General or accent light from a sloped ceiling | Slope compatibility, aiming range, beam angle, glare control, insulation-contact rating and airtight rating where applicable |
| Track or cable lighting | Flexible aiming for art, walls and changing furniture layouts | Mounting method, transformer or driver access, head compatibility and visual scale |
| Wall sconce or uplight | Indirect ambient light and reduced dependence on very high fixtures | Shielding, brightness at eye level, wall reflectance and switch grouping |
| Portable floor or table lamp | Reading and localized task lighting | Stable base, shade or diffuser, reachable control and safe cord routing |
Compare output, distribution and color
Look beyond total lumens. Two fixtures with equal output can light a room differently because one has a narrow concentrated beam and the other has a broad diffuse distribution. Review the manufacturer’s beam angle, distribution diagram or photometric report.
For living and dining spaces, many people begin with 2700K to 3000K LEDs; 3000K to 3500K may suit a cleaner or more task-oriented appearance. These are starting points rather than rules. Keep adjacent fixtures reasonably consistent unless a deliberate contrast is planned. ENERGY STAR explains that lower Kelvin values appear warmer and higher values appear whiter or bluer. It also advises checking documented dimmer compatibility because not every LED and dimmer combination works well. ENERGY STAR’s downlight guidance additionally notes the importance of IC-rated products where insulation contact is expected and airtight products below unconditioned spaces.
Check color rendering as well as color temperature. A CRI of at least 80 is common in qualified downlights, but higher-quality color rendering may be worthwhile around artwork, timber, textiles, food and skin tones. For more context, read Ross’s guides to color temperature, CRI and choosing an LED bulb.
Plan controls and reduce glare
Separate the lighting layers into logical control zones. A practical arrangement might place indirect ambient fixtures on one dimmer, pendants on another, and accent lights on a third. Portable task lamps can then be switched at the point of use. Avoid placing every fixture on one control, which forces decorative, task and general lighting to operate at the same level.
- Confirm that fixtures, LED drivers and dimmers are listed as compatible.
- Check the stated dimming range; “dimmable” does not guarantee smooth performance to very low levels.
- Use multi-location controls where a vaulted room has more than one entrance.
- Consider vacancy or occupancy controls only where automatic switching will not be disruptive.
- Place controls where users can reach them without crossing a dark room.
Glare often comes from seeing a small, intense source against a comparatively dark ceiling. Choose deep regress, baffles, diffusers or larger luminous surfaces, and keep adjustable beams out of normal seated sightlines. Ross’s glare guide explains the issue in more detail.
Troubleshoot the plan before adding fixtures
| Problem | Likely planning cause | Possible response |
|---|---|---|
| Bright ceiling, dim seating area | Too much indirect light or insufficient task lighting | Add shaded floor or table lamps and redirect some output toward useful surfaces |
| Bright circles with dark gaps | Narrow beams, excessive spacing or poor aiming | Use wider distributions, adjust aim or revise spacing with the fixture-spacing tool |
| Harsh view of recessed lights | Visible source, shallow trim or unsuitable position on the slope | Choose better shielding and check sightlines from seats and entrances |
| Buzzing, flicker or limited dimming | Incompatible LED driver and dimmer, wiring issue or overloaded control | Check manufacturer compatibility data; use a licensed electrician if the cause is not clearly a replaceable lamp |
| Frequent high-level maintenance | Short-life components or inaccessible drivers | Prioritize serviceable, documented products and plan safe access before purchase |
Test the concept temporarily where possible: move portable lamps into position, observe daylight and nighttime conditions, and mark proposed beam centers on a floor plan. This is a planning exercise, not a substitute for photometric calculations or an on-site electrical assessment.
Know when to call a licensed electrician
Vaulted-ceiling work combines electrical hazards with difficult overhead access. Hire a licensed electrician when the project involves new wiring, new junction boxes, recessed openings, heavy suspended fixtures, inaccessible drivers, unknown conductors, signs of overheating, or changes near insulation and unconditioned roof spaces. Fixture supports must be suitable for the actual load; a ceiling fan or heavy chandelier should not be attached to a box that is not identified for that purpose.
Stop using the affected circuit and seek qualified help if you notice a burning or rubbery odor, warm or discolored devices, sparks, repeated breaker trips, tingling sensations, or unexplained flickering and dimming. These are among the warning signs in the NFPA electrical safety checklist.
Final planning checklist
- Measure floor area, ceiling heights, slope and task locations.
- Estimate ambient lumens using a clearly stated illuminance and utilization assumption.
- Check beam footprints at the real source-to-target distance.
- Provide ambient, task and accent layers rather than one central source.
- Review glare from seated and standing viewpoints.
- Match LED products with compatible controls.
- Confirm slope, insulation, airtightness, location and support requirements.
- Plan safe maintenance access before fixtures are installed.
- Use a licensed electrician for new or uncertain electrical work.
Frequently asked questions
What is the best type of lighting for a vaulted ceiling?
There is no single best fixture. A strong plan usually combines ambient light from pendants, recessed fixtures, sconces or indirect sources with task lamps near seating and work areas. Adjustable accent lights can then highlight walls, beams or artwork.
How many lumens does a vaulted room need?
Multiply the room area by a chosen foot-candle target to estimate lumens reaching the working plane, then divide by an allowance for distribution and losses. For example, 300 square feet at an assumed 15 foot-candles requires 4,500 delivered lumens. Dividing by a provisional 0.60 utilization allowance gives about 7,500 fixture lumens. Treat this as a starting estimate, not a final specification.
Can recessed lights be installed in a sloped vaulted ceiling?
Yes, if the fixtures are designed or adjustable for the ceiling slope and provide appropriate aiming, shielding and beam distribution. Also verify insulation-contact and airtight requirements. New openings, wiring and junction-box work should be assessed and completed by a licensed electrician.
What beam angle works for a high vaulted ceiling?
Choose it from the source-to-target distance and the area each fixture must cover. Narrow beams provide concentration but can create bright spots; wider beams improve overlap but spread the output over a larger area. Use the beam-diameter formula and the fixture's photometric data rather than selecting by ceiling height alone.
How can I change bulbs safely on a vaulted ceiling?
Use only access equipment suitable for the height and surface, and do not overreach. A compatible lamp-changing pole may avoid ladder use for some replaceable bulbs. If access requires an unusually tall ladder, work above stairs, fixture disassembly or contact with wiring, hire a qualified professional.
Questions & discussion
Share a question or a useful experience about this guide. Comments appear immediately. Your name and comment are public. Email is optional and stays private; reply emails are not enabled yet. Comment privacy.