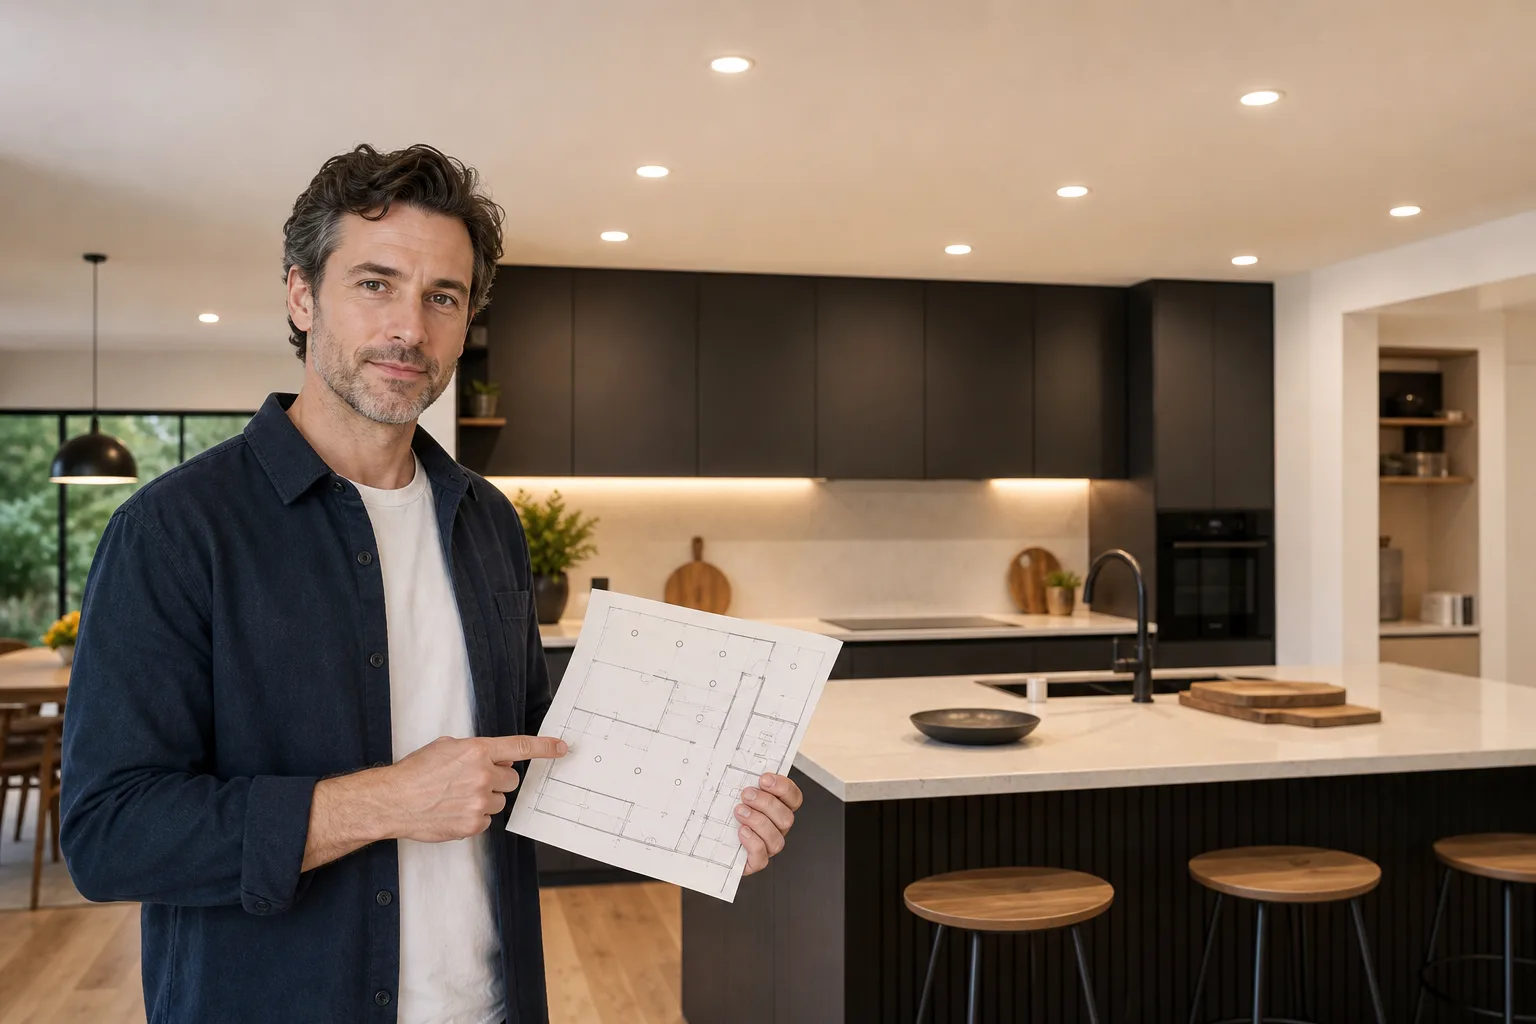
A good kitchen recessed lighting layout follows the work surfaces, not just a symmetrical ceiling grid. Start by marking counters, the sink, cooking areas, tall cabinets and the island. Place task-oriented downlights near the front edge of counters, then add separate lights for open floor areas. Use under-cabinet lighting where wall cabinets would otherwise cast shadows, and put each lighting layer on an appropriate control. The steps below provide a practical starting layout, but final quantities and spacing depend on ceiling height, beam distribution, finishes and the photometric data for the selected fixture.
1. Map the kitchen before placing any lights
Draw the room and its fixed features
Measure the room’s length, width and finished ceiling height. On a simple plan, mark the actual front edge of every counter rather than assuming a standard depth. Add the island or peninsula, sink, range, refrigerator, pantry units, ceiling beams, skylights, HVAC registers and access panels. Also identify the directions in which cabinet doors and tall appliance doors open.
Next, divide the plan into task and circulation zones:
- Perimeter counters: Food preparation and small-appliance work.
- Sink and cooking zones: Tasks that benefit from focused light, while respecting appliance and hood requirements.
- Island or peninsula: Preparation, serving, dining or a combination of uses.
- Open floor and walkways: General illumination and safe movement.
- Display areas: Artwork, open shelving or textured walls that may need adjustable accent lighting.
The U.S. Department of Energy’s residential lighting guidance recommends positioning recessed downlights above the front edge of a countertop to illuminate both the work surface and cabinet interiors. It also notes that under-cabinet lights can reduce shadows on counters. [1] For more room-planning principles, see how to plan home lighting and the guide to layered lighting.
Plan from the task plane
Ceiling-to-floor distance is not always the most useful dimension. For counters, calculate the mounting height above the work surface. An 8-foot ceiling above a 3-foot-high counter gives a 5-foot mounting height. This distance affects the beam’s size and intensity when it reaches the counter.
2. Estimate the required light before counting fixtures
Understand lumens, lux and foot-candles
Lumens describe the total light output of a lamp or fixture. Illuminance describes how much light reaches a surface. One lux equals one lumen per square meter, according to NIST, while one foot-candle is approximately 10.76 lux. [2] Learn more in the Ross guides to lumens, lux and foot-candles.
For an early estimate in U.S. customary units:
Delivered lumens ≈ room area in square feet × target foot-candles
This calculation assumes light is distributed uniformly, which real kitchens rarely achieve. Cabinets absorb light, narrow beams create bright and dark areas, and not every fixture lumen reaches the work plane. A more useful planning equation is:
Initial fixture lumens ≈ delivered lumens ÷ (coefficient of utilization × light-loss factor)
The coefficient of utilization estimates the fraction of fixture output reaching the relevant surfaces. The light-loss factor allows for dirt, aging and other reductions. Use manufacturer photometric data when available. If it is not available, any factors used are assumptions rather than verified fixture performance.
Worked example
Consider a 12-by-16-foot kitchen with an area of 192 square feet. For this example only, assume a general-lighting target of 20 foot-candles, a utilization factor of 0.70 and a light-loss factor of 0.80:
- Delivered ambient light: 192 × 20 = 3,840 lumens.
- Initial fixture output: 3,840 ÷ (0.70 × 0.80) = approximately 6,860 lumens.
- If recessed lights provide 65% of that output, their allowance is about 4,460 lumens.
- At 750 lumens per downlight: 4,460 ÷ 750 = 5.95, rounded up to six downlights.
The remaining light would come from under-cabinet fixtures, pendants or decorative lighting. The 20-foot-candle target and all three factors are transparent planning assumptions, not a universal residential standard. Dark finishes, high ceilings, detailed visual work or older occupants may justify more light; reflective finishes and strong task lighting may justify less. The recessed lighting calculator can help organize an estimate, but it cannot replace a fixture-specific photometric plan.
3. Turn the estimate into a practical spacing plan
Lay out counter rows first
Position the perimeter row approximately over the front edge of the worktop. If a light is placed behind the person using the counter, the user’s head and upper body can cast a shadow across the task. A row centered in the aisle may look orderly on the ceiling yet perform poorly on the counters.
Start with fixture spacing close to the mounting height above the task plane, then adjust for beam angle and photometric distribution. With a 5-foot mounting height above a counter, an initial spacing range of roughly 4 to 5 feet is reasonable for broad-beam downlights. Treat this as a drafting heuristic, not a product-independent rule.
Check the beam spread
A simplified geometric estimate for beam diameter is:
Beam diameter = 2 × distance to surface × tan(beam angle ÷ 2)
For a nominal 60-degree beam mounted 5 feet above a counter, the calculated beam diameter is approximately 5.8 feet. The published beam angle normally identifies the region bounded by half-maximum intensity; it does not mean the beam ends sharply at that diameter. Overlap adjacent beams to avoid visible gaps. Use the beam-spread tool or read the fixture’s photometric report for a closer estimate.
Add open-area and island lighting
After the counter row is set, add downlights for open floor areas and any island that will not have pendants. Keep the arrangement visually aligned with major cabinet lines where possible, but do not sacrifice task performance merely to create a perfect grid. A narrow kitchen may need only the perimeter task row; a wide kitchen may need an additional central row.
If pendants are used above an island, decide whether they provide useful task light or mainly decoration. Do not automatically place recessed lights directly above or behind opaque pendant shades, where the two systems may create glare or conflicting shadows. The kitchen island pendant tool can help establish pendant positions before the downlight layout is finalized.
| Area | Starting placement | What to check |
|---|---|---|
| Perimeter counter | Near the counter’s front edge | User shadows, cabinet doors and beam overlap |
| Sink | Centered on the basin or primary task area | Window trim, glare and applicable location rating |
| Range | Coordinate with the hood and its integral light | Heat, steam and manufacturer clearances |
| Island without pendants | One centered row or a balanced pair of rows | Seating positions and preparation zones |
| Island with pendants | Use recessed lights only where they add needed coverage | Shade shadows and visual clutter |
| Walkway | Fill gaps after task lights are positioned | Uniformity and glare along sightlines |
4. Build the layout from several lighting layers
Recessed lighting is useful for general and task illumination, but it should not be expected to do every job. A layered plan is easier to adjust for cooking, cleaning, dining and evening use.
- Ambient layer: Recessed, surface-mounted or indirect fixtures provide overall visibility.
- Task layer: Under-cabinet lights and well-positioned downlights illuminate counters, the sink and the island.
- Accent layer: Adjustable downlights or narrow-beam fixtures emphasize shelves, artwork or architectural surfaces.
- Decorative layer: Pendants and statement fixtures contribute visual character and may also provide useful light.
Put under-cabinet lighting toward the front of the cabinet underside so the light reaches the work surface rather than producing a bright backsplash and a dim counter edge. Conceal direct views of LED points where practical. A separate control allows this layer to serve as primary counter lighting or low-level evening illumination.
5. Choose downlights, bulbs and trims that suit the plan
Compare integrated and replaceable-light-source designs
An integrated LED downlight combines the LED, optics and driver as a designed system. It can offer a shallow profile and predictable distribution, but a failed light engine or driver may require replacement of the complete unit. A recessed housing with a replaceable lamp provides more freedom to change the bulb, although lamp and trim compatibility affects glare, heat and beam control. A listed retrofit kit is preferable to improvised modifications of an existing housing.
Prioritize output and distribution
Compare fixtures by delivered lumens and light distribution, not by watts alone. Watts measure electrical input; lumens measure light output. ENERGY STAR’s downlight criteria also evaluate factors such as efficacy, output, zonal distribution, color quality and thermal performance. [3] See watts versus lumens and the fixture guide for additional background.
Broad distributions generally produce smoother ambient coverage. Regressed apertures and suitable baffles can reduce direct glare, while adjustable fixtures are useful for vertical surfaces and displays. Small apertures are visually quiet but are not automatically less glaring; glare depends on source brightness, shielding and viewing angle.
Select color quality and appearance
Warm-white 2700K can suit traditional finishes and evening dining, while 3000K offers a slightly crisper appearance. Some kitchens use 3500K for a more neutral working environment. Keep neighboring fixtures at the same selected color temperature unless a tunable system is being planned deliberately. Review the guides to color temperature and color rendering index.
ENERGY STAR downlight criteria require a general CRI of at least 80 and an R9 value above zero for certified products. [3] For a kitchen, a specified CRI of 90 or higher is a useful preference when accurate distinctions among food, finishes and materials matter, but CRI alone does not describe every aspect of color fidelity.
Check installation ratings
If insulation may contact a recessed fixture, select a product specifically marked Type IC and follow its instructions. An airtight-rated model can help limit air leakage where the ceiling borders an unconditioned space. Also verify dry, damp or wet-location suitability for the actual position instead of assuming every kitchen fixture needs the same rating.
6. Plan controls and treat wiring as safety-sensitive
Separate the useful lighting groups
At minimum, consider separate controls for perimeter downlights, island or central lights, under-cabinet lighting and decorative fixtures. This prevents an all-or-nothing result and allows the brightest task settings to be reduced when the kitchen is not being used for preparation or cleaning.
When dimming LEDs, confirm that both the fixture and control are compatible. Review the manufacturer’s supported dimmer list, minimum load, maximum fixture count and any instructions for setting low-end trim. Incompatible combinations can cause flicker, buzzing, delayed starting or lights that fail to dim smoothly. See how to choose an LED dimmer and the guide to flicker.
Know when to call an electrician
Planning fixture positions is different from altering permanent wiring. NFPA safety guidance says electrical work should be performed by a qualified electrician and notes that licensing requirements vary by community. [4] Use a licensed electrician where required for new branch wiring, circuit changes, junction boxes, dimmers, permits and inspections. Professional evaluation is especially important when wiring is old or unidentified, breakers trip, grounding is uncertain, insulation surrounds proposed fixtures, or the ceiling may contain plumbing, ducts or structural obstacles.
Do not cut a fire-resistance-rated ceiling without confirming an approved detail. UL explains that recessed luminaires can affect the tested performance of a rated floor-ceiling or roof-ceiling assembly and must be addressed as part of an evaluated assembly or approved protection method. [5]
7. Review and troubleshoot the proposed layout
Final planning checklist
- Every main counter has task light that approaches from above or slightly in front of the user.
- The sink, range and island have been considered individually rather than treated as ordinary floor area.
- Downlight beams overlap without creating an unnecessarily dense ceiling grid.
- Pendants, hood lights and under-cabinet fixtures are included in the lumen plan.
- Ceiling obstructions, joists, ducts, plumbing and access panels have been checked before holes are marked.
- Fixture output, beam angle, color temperature, CRI, dimming compatibility and location ratings are documented.
- Insulation-contact, airtight and fire-rated-assembly requirements have been reviewed where applicable.
- Lighting groups have independent controls where different activities need different light levels.
- A qualified electrician has reviewed the wiring method, circuit capacity and local permit requirements.
Common layout problems
- Dark counters: The ceiling row may be too far into the walkway. Add or reposition task lighting and use front-positioned under-cabinet fixtures.
- Bright circles with dark gaps: Spacing may exceed the fixture’s useful distribution. Reduce spacing or choose a broader beam.
- Uncomfortable glare: Choose a more deeply regressed source, improve shielding or move fixtures away from common sightlines.
- Uneven color: Confirm that all fixtures use the same CCT setting and product specification.
- Flicker or buzzing: Check documented dimmer compatibility and have the wiring and control installation evaluated if the problem continues.
- Too much light: Use separate zones and compatible dimmers before removing fixtures. Excess output may also indicate that decorative and task layers were counted twice.
A kitchen layout should ultimately be checked against the selected fixture’s photometric data and the actual cabinet plan. For a broader spacing discussion, continue to how to space recessed lights or use the fixture-spacing tool.
Frequently asked questions
How far apart should recessed lights be in a kitchen?
For an initial drawing, spacing close to the fixture’s mounting height above the relevant work surface can be a useful starting point. A light 5 feet above a counter might begin at approximately 4 to 5 feet from the next light. Adjust that spacing using the selected fixture’s beam distribution and photometric data.
Should kitchen recessed lights align with the counters or the room?
Lay out task-oriented lights around the counters first. Positioning them near the front edge of the worktop usually directs more light onto the task and reduces shadows cast by the person at the counter. Add lights for open floor areas after the task rows are established.
How many recessed lights does a kitchen need?
Calculate the room area, choose a transparent illuminance assumption and account for light losses and other lighting layers. Divide the recessed-light lumen allowance by the output of one fixture, then verify that the resulting arrangement provides sensible beam overlap. Room area alone cannot determine an exact fixture count.
What color temperature is best for kitchen recessed lighting?
Many residential kitchens use 2700K, 3000K or 3500K. Choose 2700K for a warmer appearance, 3000K for a balanced warm-white result or 3500K for a more neutral working appearance. Keep adjacent fixtures consistent and evaluate samples against the actual cabinets and countertops.
Can I install kitchen recessed lights myself?
Creating a paper layout is suitable for homeowners, but permanent wiring, new circuits, junction boxes and work involving uncertain existing wiring are safety-sensitive. Follow local permit rules and use a licensed electrician where required. Fire-rated ceilings and insulation-contact conditions also need specific evaluation.
Questions & discussion
Share a question or a useful experience about this guide. Comments appear immediately. Your name and comment are public. Email is optional and stays private; reply emails are not enabled yet. Comment privacy.