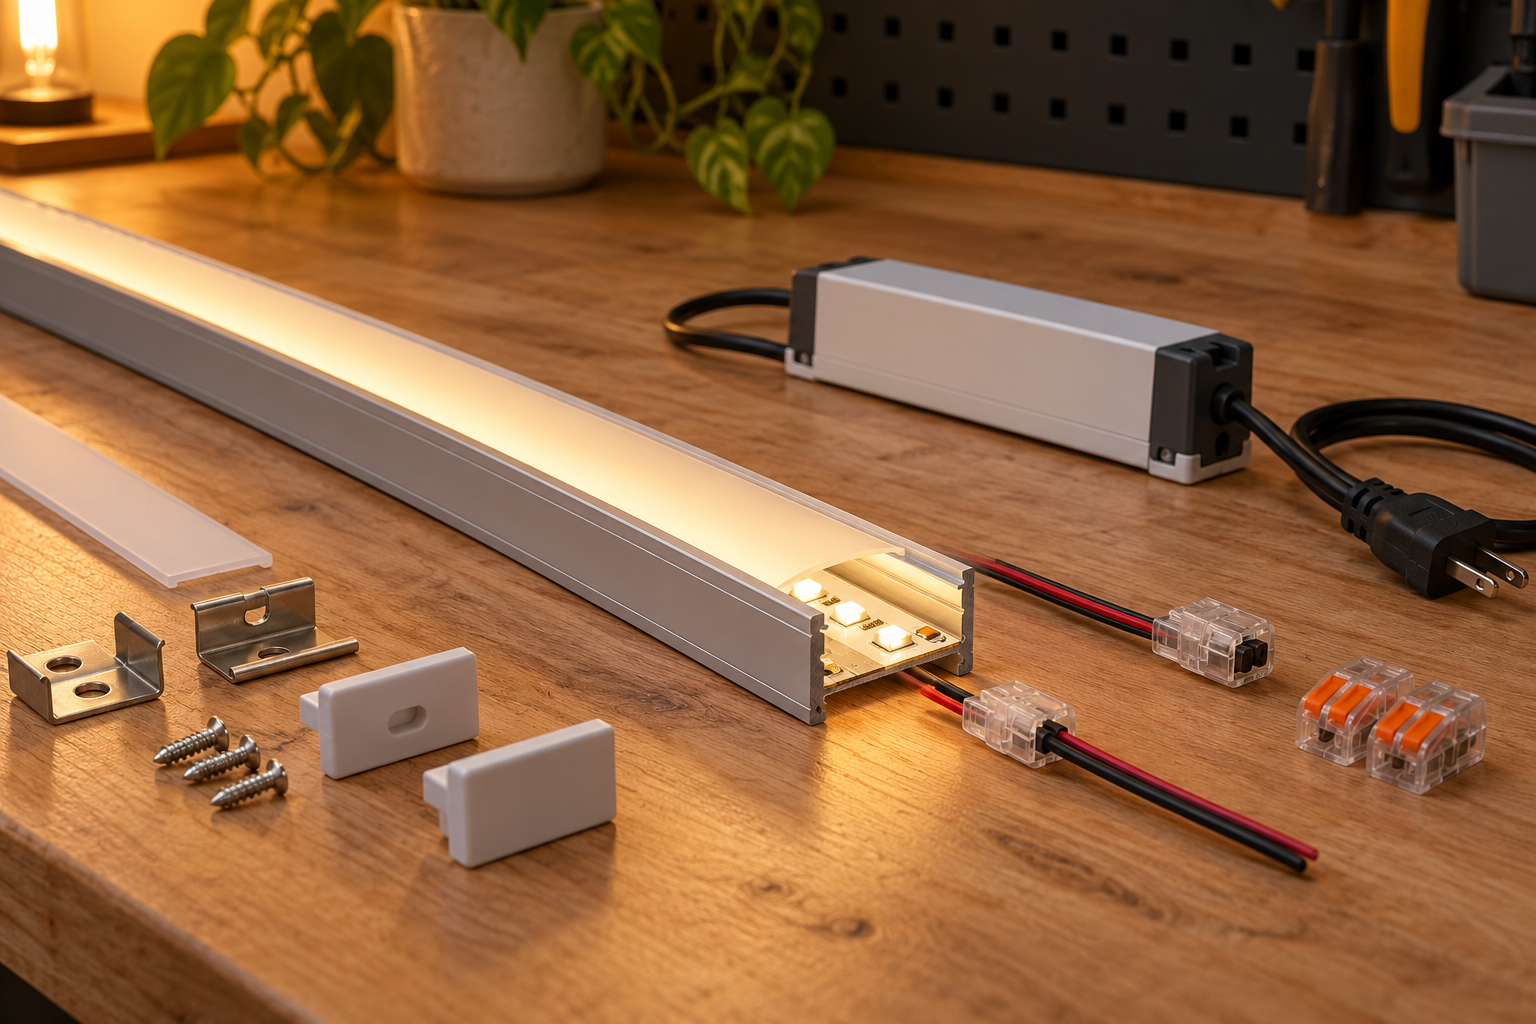
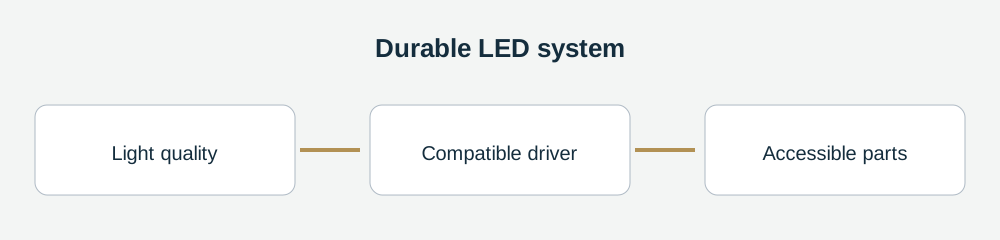
A durable LED strip is part of a system, not just a reel with a long life claim on its label. Start with the quality of light you need, select a driver and dimmer that work together, and make both the strip and driver accessible for repair. Good heat management and a sensible mounting method matter too.
For a valuable pendant or a permanent architectural feature, a replaceable strip and accessible driver can make a fault much less disruptive than a sealed, integrated assembly. Neither arrangement guarantees a particular lifetime. The useful question is what you will have to remove, buy and reconnect when one part fails.
Start with the light, not the lifetime claim
Decide what the light is meant to do before comparing warranties. A decorative glow behind a mirror has a different job from illuminating a dining table or the colours of artwork. Pick a colour temperature that suits the room and compare colour rendering using the data for the actual strip and colour temperature you intend to buy. A high colour-rendering index can be valuable where fabrics, food or artwork need to look natural; it does not by itself tell you how bright the installation will be.
Ask for lumens per metre or foot as well as watts. Watts help size the power supply, while lumens describe light output. A diffuser, mounting position and surrounding surfaces change how much light reaches the space. If the strip is hidden inside a pendant, check how its light looks through the intended shade rather than choosing on the bare reel’s appearance alone.
Dimming is another part of light quality. If the light must dim very low at dinner, ask the supplier to confirm the minimum level and any compatibility requirements for the exact strip, driver and control. Flicker, jumps or a visible colour shift can make an otherwise attractive system disappointing. A phone camera may reveal a problem, but it is not a substitute for a specification or a proper compatibility test.
Match the strip, driver and controls
First match the driver’s output voltage and type to the strip. Calculate the load from the strip’s rated power per unit of length and the installed length, then follow the manufacturer’s capacity and maximum-run instructions. Include every connected section in the calculation. The LED strip power tool helps organise those figures; the actual product instructions remain the final check.
Next identify the control path. A wall dimmer, a phase-dimming driver, a low-voltage controller and a strip are separate components, and they do not automatically work together just because their packaging says “dimmable.” Ask for the driver’s compatibility list and the control protocol, then check that the proposed wall control is on that list. If the manufacturer sells a matched package, ask exactly which components are included and whether using them affects the warranty.
Buying a strip and driver from the same company can make compatibility and warranty support easier to establish. It does not guarantee flicker-free operation. Driver output, dimming method and the combination of controls still matter. Keep the model numbers on the quote, not just the brand names, so the installer and owner can obtain the same parts later.
Consider the driver’s location as part of the design. It should be reachable without destroying finished walls or furniture and installed in the conditions its maker permits. Leave any ventilation and clearance required by the instructions. A beautifully concealed driver is a poor choice if a routine replacement later requires opening a ceiling.
Make the failure a repair, not a rebuild
Look at the assembly from the perspective of a future owner. Can an individual section be disconnected and replaced? Is there enough space to reach the connector? Can the driver be changed without removing the whole fixture? A serviceable design puts these answers in writing before the first strip is installed.
Some fixtures use an integrated light board or a sealed module. That can provide a neat, compact design, but the repair depends on whether the maker sells replacement modules and how they fit. An LED strip mounted in an accessible channel may offer another route: remove the diffuser, disconnect the affected section and replace it with a compatible part. In either case, ask for a parts diagram and written replacement instructions rather than assuming that “integrated” means disposable or that every strip can be swapped easily.
For a custom pendant, decide whether the customer can safely replace a low-voltage section or whether a qualified service person will be needed. Connectors must suit the strip’s width, contacts and electrical load; they should not be improvised just to make a demonstration work. Spare strip is only helpful if it is the same specification and can be stored and identified for later use. Ask whether matching replacement parts are likely to remain available and what happens if a colour or driver is discontinued.
A high purchase price is not proof that every reel is fault-free. In one reported QTL installation covering about 800 feet, roughly a third of the strip sections reportedly arrived with dead LEDs or incorrect colours; other buyers favour premium systems for their specifications and service options. Treat that as a reason to inspect and test delivered material before installation, not as a reliable failure rate for a brand. Check every reel and colour against the order and report defects within the seller’s return window.
Plan for heat and mounting
LEDs and their electronics generate heat. Higher operating temperatures can reduce light output and shorten component life, so follow the strip maker’s mounting and temperature instructions. A suitable aluminium channel can support the strip and help provide a heat path; the complete fixture still needs the space and conditions specified for that product. Do not bury a driver in insulation or place it in an inaccessible cavity unless its instructions explicitly permit that installation.
Adhesive is useful for positioning many strips, but think about maintenance as well as the first installation. A channel, clips and a removable cover may make a future repair easier than a strip buried behind permanent trim. The correct fixings depend on the fixture and substrate. Check whether the adhesive and channel are approved by the supplier and whether removing the strip could damage the surface or the strip itself.
A factory burn-in is a controlled powered test intended to reveal early failures; it is different from simply switching a light on briefly. A homeowner does not need to invent a burn-in schedule. Instead, inspect the components, carry out the supplier’s prescribed checks and test the complete system safely before it is enclosed. If anything flickers, runs unexpectedly hot or has damaged insulation, disconnect it and seek qualified help.
Compare brands by the exact system
Professional buyers mention QTL, Luminii, Diode LED, WAC and Lutron among other options, but these names are not a ranking and a brand does not settle the choice. Ask for the specific strip, driver, control and warranty documents. For example, one QTL strip specifies its own power supply as a warranty condition, while a Luminii model lists several control protocols. Those details apply to those models, not to every product from either company.
The same rule applies to drivers mentioned for reliability, including Mean Well, Armacost, LEDI and HEP: verify the exact model’s rating, intended use and compatibility rather than assuming that a general reputation makes it suitable for your project. Compare the quoted system with the LED strip brands shortlist, and ask what support and replacement parts are available where you live.
For a plug-in low-voltage system, follow the manufacturer’s instructions and disconnect power before handling components. New mains wiring, hardwired drivers, concealed line-voltage wiring and other work governed by local electrical rules belong with a qualified electrician. If you cannot confidently specify or assemble the low-voltage components, have a professional do that work too. The installation guide explains the planning steps and boundaries in more detail.
Six things to request before ordering
- The exact strip model, colour temperature, colour-rendering data and rated light output.
- The driver model, output voltage, capacity and manufacturer-required load margin.
- A compatibility list for the driver, dimmer and control method.
- The cut lengths, connector type and instructions for replacing a single section.
- Warranty terms for the complete combination, including any restrictions on drivers or installation.
- Replacement-part availability and current prices for the strip, driver and connectors.
Keep those documents with the installation drawing. The most durable purchase is the one that gives you usable light now and a realistic repair path later.
Questions & discussion
Share a question or a useful experience about this guide. Comments appear immediately. Your name and comment are public. Email is optional and stays private; reply emails are not enabled yet. Comment privacy.