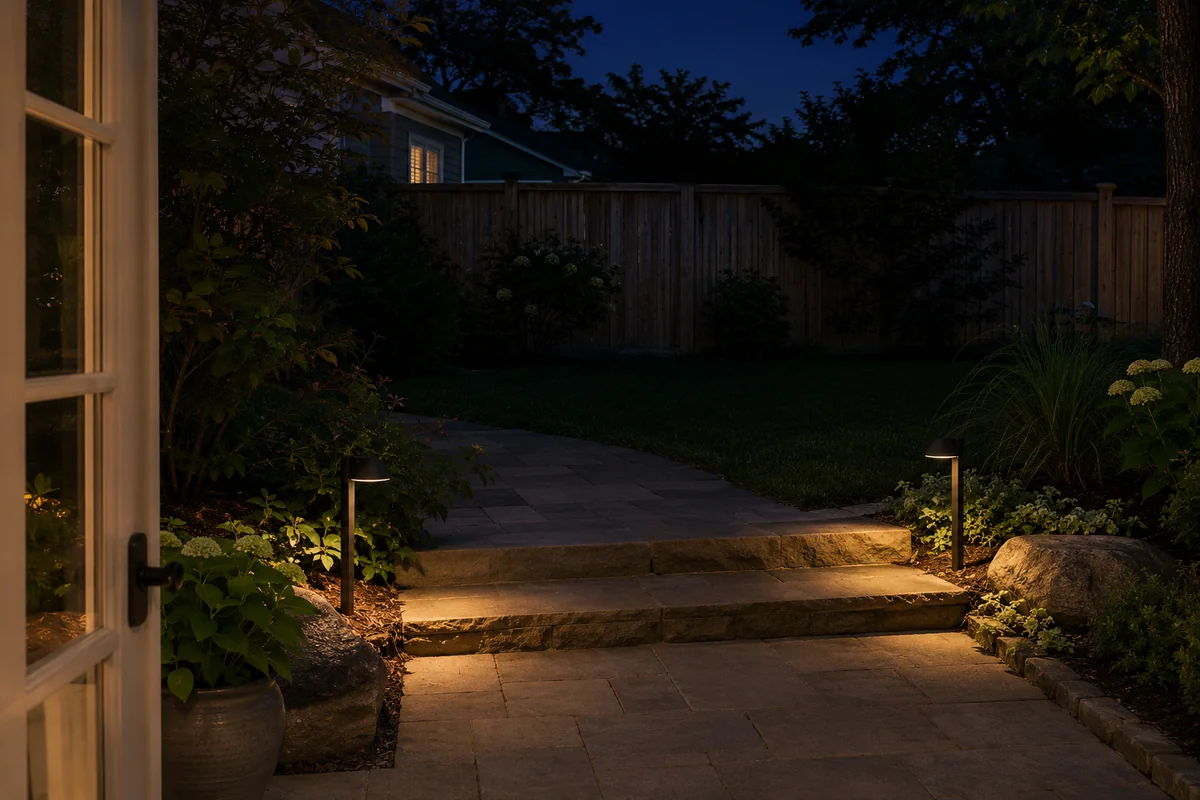
Start with infrared night vision if you only need to see the backyard on a camera. If you need to walk outside, put a small, shielded light over the first step or the part of the path you use. That split is especially useful when the camera loses its picture after dark and a neighbor’s bedroom window is only 30 feet away.
Decide what you need to see and when
For a quick live check, frame the gate or the patch where the dog goes out. You may only need to tell whether something moved. If you want a recording you can review later, ask someone to walk the route and check the saved clip. Can you make out the detail you need at the gate? Does the clip start before the person passes it? An alert and a usable recording are two separate checks.
Test infrared night vision at the spot that matters
Switch off the yard lights and check whether your camera has an infrared (IR) night mode and an illuminator. A camera with an IR-sensitive night mode and enough infrared illumination can show a scene in darkness, usually in grayscale. Color low-light modes still need some visible light. Check the camera specifications before assuming it can see the gate in total darkness.
Try the built-in IR first. Open a saved clip on the device you normally use. If a nearby wall, eave or shiny surface dominates the image, adjust the camera position or remove the obstruction from its field of view. If the gate still lacks detail, consider an outdoor IR illuminator compatible with the camera. Aim it at the gate from a different position and compare recordings with the built-in IR on and off, if the camera supports that. Keep the camera view and illumination within your property.
Test at the actual distance. Leaves can hide movement, and moisture on the lens or reflections near the camera can reduce usable detail. If rain, fog or snow is common where you live, repeat the recording check when conditions change. A range on a box cannot tell you whether a clip from your yard will show what you need.
Light the walking route one spot at a time
Start at the back door. If the first step disappears when you look down, aim a shielded light at its tread and edge. For an uneven path or a gate latch, use a low path fixture or a small, downward-facing spot. Start at the lowest setting that lets you see the hazard comfortably. Check where the beam ends and whether you can see the bright lamp itself from the path or fence line.
Use a switch you can reach before stepping out. A flashlight is useful for occasional trips or for testing where a permanent light would help. If several areas need light, use the garden lighting layout guide to plan them separately.
Tune the motion sensor after dark
If the sensor and lamp head adjust independently, aim the lamp at your walking surface and aim the detector at the approach you want it to cover. Use the manufacturer’s instructions for mounting and detection settings. Start with a short range or the lowest sensitivity that reliably detects a person on your route. Use the shortest shutoff delay that gives you time to get where you’re going.
Walk toward the door and across the detection area, then check for triggers from pets, moving branches and people passing outside the fence. Adjust one setting at a time and repeat the walk. If the detector keeps picking up movement beyond your yard, try a narrower detection zone or use a manual switch. Check the beam separately after each change to the lamp aim.
Keep light out of neighboring windows
Light trespass is unwanted spill into an area where the light isn’t needed, such as a neighbor’s bedroom. After dark, look toward that window from your side of the boundary. Check both where the beam lands and whether the lamp is visible from that direction. If you can, ask your neighbor whether they see spill when the fixture is on, then recheck after aiming or shielding it. The glare guide explains how sightlines affect what people see, and the guide to fixing lights that are too bright helps you choose which adjustment to try first.
DarkSky International and the Illuminating Engineering Society recommend five principles. Give each light a purpose, aim it at the task, keep its output low, control when it runs, and choose a warm color where practical. Check local rules or homeowners association requirements before installing a permanent fixture.
Use visible light when someone needs to go outside
A camera view can help you check the yard from indoors. Use visible light for steps, uneven ground and anything you need to handle outdoors. If you suspect a bear or other large animal is in the yard, stay indoors, keep pets inside and follow local wildlife-agency guidance. A dark corner on the camera gives you limited information about what is there.
If one person wants a darker yard and someone else likes light on the patio, put the patio light on its own switch or timer. Keep it low and check the spill with the patio lights on by themselves.
Check the setup tonight
- Name the spot you need to see and decide whether you need a live view, a saved clip or light for walking.
- Test the camera with the yard lights off and review the saved clip at the actual distance.
- Light only the steps, path or latch you still need to see.
- Test motion triggers from the approach and near the boundary, then check the beam toward neighboring windows.
Sources
- Reddit discussion · r/homeowners · 223 comments
- Five Principles for Responsible Outdoor Lighting — DarkSky International and the Illuminating Engineering Society
- Frequently Asked Questions — New Mexico DarkSky
- IR in Surveillance — Axis Communications
Questions & discussion
Share a question or a useful experience about this guide. Comments appear immediately. Your name and comment are public. Email is optional and stays private; reply emails are not enabled yet. Comment privacy.