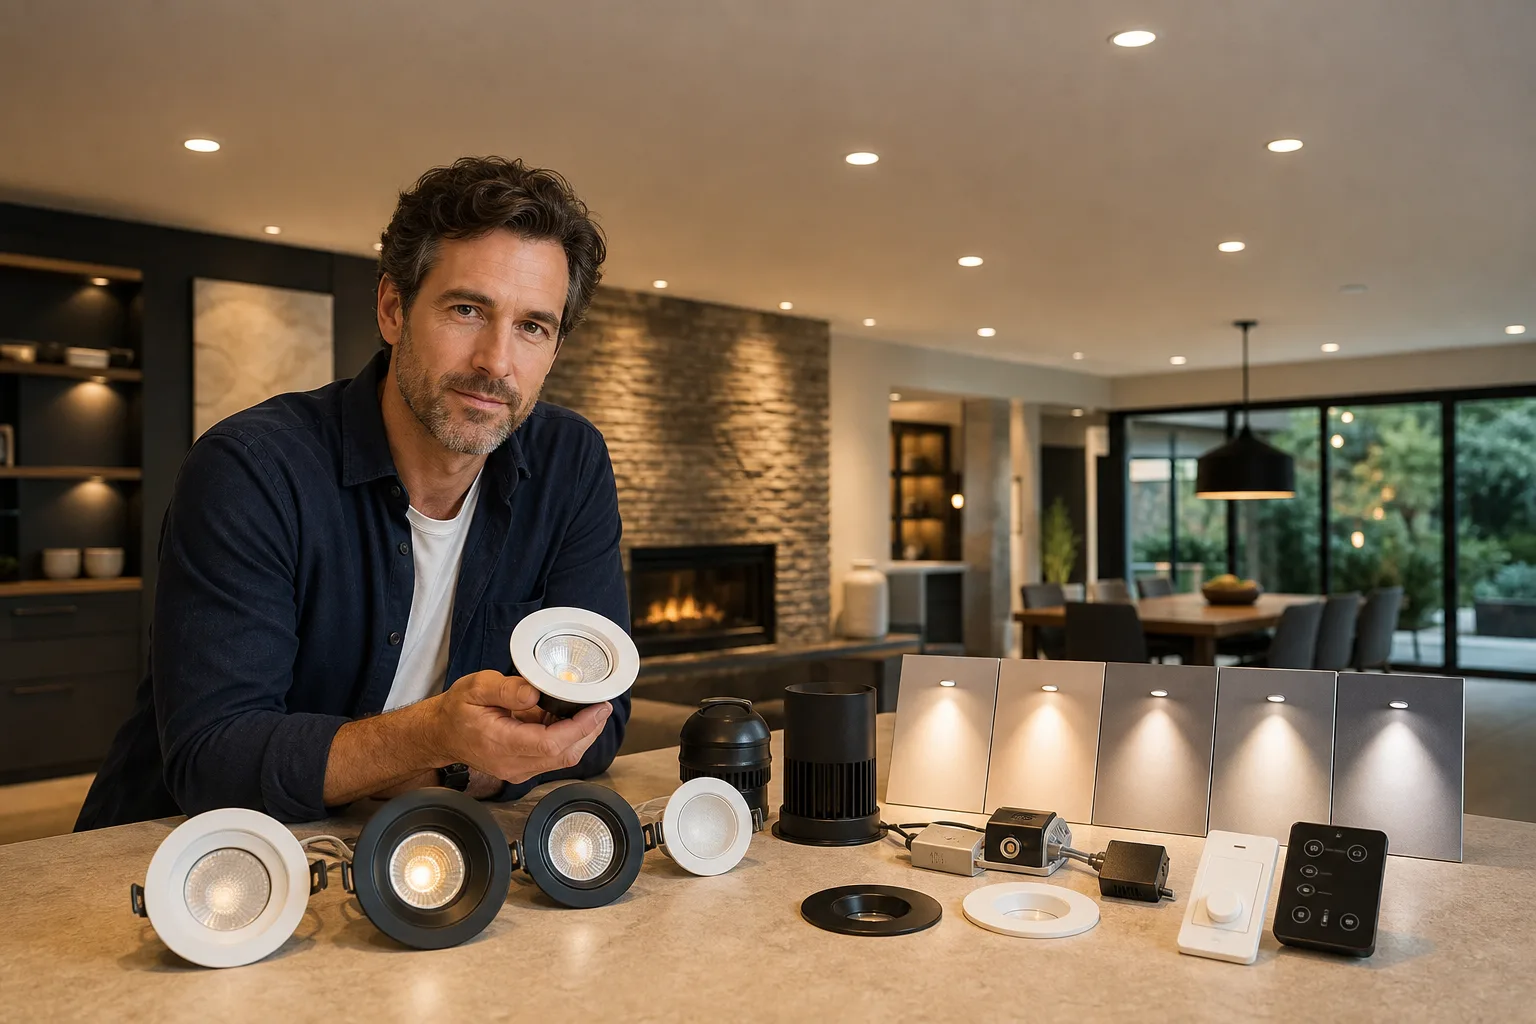
Recessed lighting is most useful when you want unobtrusive ambient, task or accent light without a hanging fixture. The right product depends first on the ceiling construction and safety ratings, then on light output, distribution, color quality and controls. In most rooms, recessed downlights work better as one part of a layered lighting plan than as the only source of light.
Choose the recessed fixture type first
A recessed light combines a housing or junction box, an LED light source or bulb, optical components and visible trim. Some products contain all these parts in one integrated assembly; others accept a replaceable lamp.
Housed recessed lights
Traditional recessed fixtures place a metal housing, often called a can, above the ceiling. New-construction housings attach before the ceiling surface is installed. Remodel housings enter through a finished opening and clamp to the ceiling.
Housed fixtures can offer deep reflectors, replaceable bulbs and a broad choice of trims. Their depth and clearance requirements may make them unsuitable beneath ducts, pipes or closely spaced framing. If insulation will touch the housing, ENERGY STAR advises selecting a product marked Type IC, meaning insulation contact. It also recommends considering an airtight or Type AT model below an unconditioned attic. ([energystar.gov](https://www.energystar.gov/products/light_fixtures?utm_source=openai))
Canless and wafer lights
A canless downlight usually connects to a separate junction box and clips directly into a ceiling cutout. Ultra-thin wafer models fit where a full housing cannot, although shallow construction does not automatically mean better glare control. A luminous lens close to the ceiling plane can remain conspicuous across the room.
Canless fixtures are practical for shallow cavities and remodeling, but replacing a failed driver or LED module may require matching a proprietary component—or replacing the whole unit. Check access requirements, connector type and warranty before committing to dozens of identical fixtures.
Retrofit modules and replaceable bulbs
An LED retrofit module fits a compatible existing housing and normally replaces both the old bulb and trim. It can improve sealing and produce a more finished appearance than a bare reflector bulb. A standard screw-base bulb is easier to replace, but it must be approved for the fixture’s enclosure and operating conditions. Heat trapped in an enclosed fixture can affect LED performance, so follow the lamp and housing specifications rather than assuming any bulb that physically fits is suitable. ([energy.gov](https://www.energy.gov/cmei/femp/purchasing-energy-efficient-light-bulbs?utm_source=openai))
Adjustable, wall-wash and wet-location models
- Fixed downlights: Best for regular ambient layouts and horizontal work surfaces.
- Adjustable or gimbal lights: Aim toward artwork, shelving, sloped ceilings or architectural features.
- Wall-wash fixtures: Use asymmetric optics to brighten a vertical surface more evenly than a standard downlight.
- Damp-location fixtures: Intended for moisture that does not directly strike the product, subject to its listing and instructions.
- Wet-location fixtures: Required where water can contact the fixture, when mandated by the applicable code and product instructions.
Read the specifications that affect the room
Do not choose a recessed light by aperture diameter or wattage alone. Lumens describe emitted light; watts describe electrical input. Their ratio, lumens per watt, is luminous efficacy. Distribution and placement determine how much of that light reaches the surfaces that matter.
| Specification | What it tells you | What to check |
|---|---|---|
| Lumens | Total light output from the lamp or complete fixture | Use fixture lumens when comparing integrated LEDs. |
| Watts and lm/W | Power demand and efficacy | Compare efficacy only between fixtures intended for similar jobs. |
| Beam angle | Width of the main beam | Narrow beams accent; wider beams cover more area but may produce less intensity at the center. |
| CCT in kelvins | Warm-to-cool appearance of white light | Keep adjacent fixtures consistent unless tunable color is intentional. |
| CRI | A limited indicator of color fidelity | Higher CRI can help food, finishes and artwork appear more natural, but CRI alone does not describe every color. |
| Dimming range | Lowest claimed stable output and control method | Confirm the exact fixture-and-dimmer pairing. |
| IC and airtight markings | Insulation-contact and air-leakage suitability | Match the markings to the ceiling assembly and installation instructions. |
| Dry, damp or wet rating | Permitted moisture exposure | Use the rating required for the actual location. |
| Photometric file or report | Measured distribution and intensity data | Useful for spacing, glare review and professional calculations. |
Color temperature and color quality
Common choices include 2700 K for a warm appearance, 3000 K for a slightly crisper warm white and 3500 K or 4000 K for a more neutral appearance. These are design choices rather than universal room rules. Compare samples against paint, wood, tile and furnishings before buying a large quantity. Learn more in the guides to color temperature and CRI.
Selectable-CCT products let the installer choose among several settings, while tunable-white products change color through a control system. Dim-to-warm LEDs become warmer as output falls. The U.S. Department of Energy notes that control methods and low-end color performance vary, so a sample or mock-up is more informative than the feature name alone. ([energy.gov](https://www.energy.gov/cmei/ssl/understanding-led-color-tunable-products?utm_source=openai))
Beam angle, shielding and glare
The Illuminating Engineering Society defines beam angle using the directions where intensity falls to 50% of the maximum. That makes beam angle useful for comparison, but it is not a hard boundary: light continues outside the stated beam. ([ies.org](https://ies.org/definitions/beam-angle/?utm_source=openai))
Deeply regressed sources, baffles and suitable shielding can reduce direct views of a bright LED. This matters above sofas, beds, screens and circulation routes, where a shallow source may sit in the normal line of sight. See the separate guides to beam angle and glare.
Estimate lumens, fixture count and spacing
Start with a lumen calculation
For an initial estimate, calculate room area and select a target illuminance appropriate to the task. One foot-candle equals one lumen per square foot; one lux equals one lumen per square meter. A more realistic fixture-count formula is:
Fixture count = target foot-candles × area in square feet ÷ (fixture lumens × CU × LLF)
CU is the coefficient of utilization: the estimated share of fixture light reaching the work plane for a particular room and luminaire. LLF is a light-loss factor allowing for effects such as dirt and lumen depreciation. Obtain both from professional calculations or relevant photometric data when accuracy matters.
For an illustrative calculation only, consider a 12-by-16-foot room, a provisional target of 20 foot-candles, 800-lumen fixtures, CU of 0.70 and LLF of 0.80:
20 × 192 ÷ (800 × 0.70 × 0.80) = 8.57, rounded up to nine fixtures.
The 20-foot-candle target and both factors are assumptions, not recommendations for every room. Surface reflectance, cabinet locations, ceiling height, daylight and other light layers can materially change the result. Use the recessed lighting calculator for a first pass, then verify demanding layouts with photometric software or a qualified lighting professional.
Estimate beam coverage
A simple geometric estimate for the nominal beam diameter on a surface is:
Beam diameter = 2 × distance from light to surface × tan(beam angle ÷ 2)
For a 40-degree beam mounted 6 feet above a work surface, the nominal diameter is about 4.4 feet. This predicts geometry, not uniform brightness, because intensity normally declines toward the beam edge.
Use spacing criterion when available
A fixture’s spacing criterion estimates the maximum ratio of fixture spacing to mounting height above the work plane that should produce acceptable uniformity in a regular array. The working formula is maximum spacing = spacing criterion × mounting height above the work plane. ([ies.org](https://ies.org/definitions/luminaire-spacing-criterion-sc/?utm_source=openai))
If no spacing criterion or photometric data is available, do not rely blindly on a rule such as dividing ceiling height by two. Lay out lights around tasks and architecture, check beam overlap, and treat half the center-to-center spacing as an initial wall-offset test rather than a fixed standard. The fixture spacing tool and guide to spacing recessed lights can help organize the draft layout.
Plan recessed lighting as one layer
A ceiling grid can produce adequate horizontal illumination while leaving faces, walls and cabinets comparatively dark. Layering recessed fixtures with pendants, sconces, under-cabinet lights, floor lamps or concealed linear lighting improves visual hierarchy and gives each circuit a clearer purpose.
| Space or task | Useful recessed-light approach | Supporting layer |
|---|---|---|
| Kitchen | Position downlights to illuminate counters without putting the user’s head between the light and worktop. | Under-cabinet task lighting and pendants where appropriate; see kitchen recessed-light layouts. |
| Living room | Use restrained ambient output or adjustable accents rather than a uniformly bright ceiling. | Table lamps, floor lamps and wall lighting; see living-room lighting. |
| Home office | Place lights to limit screen reflections and avoid strong shadows across the desk. | Adjustable task lighting; see home-office lighting. |
| Bathroom | Use appropriately rated ceiling light for general illumination. | Vertical light near the mirror; use wet-location products where the installation requires them. |
| Artwork or shelves | Choose adjustable or wall-wash optics and verify aiming angles. | Dedicated controls; see lighting artwork and lighting bookshelves. |
| Low or vaulted ceiling | Select optics for the actual mounting geometry rather than simply adding output. | Use guidance for low ceilings or vaulted ceilings. |
Match the light source and controls
Integrated LED or replaceable bulb?
Integrated fixtures can provide a clean aperture, purpose-designed optics and tested performance as a complete luminaire. Replaceable bulbs make future lamp changes easier and offer more flexibility in output, beam and color. Balance that flexibility against fixture depth, sealing, trim compatibility and the risk that a preferred bulb shape may change over time.
For bulb-based housings, use the specified base, shape, wattage limit and enclosure rating. Compare brightness in lumens, not by treating watts as light output. The guides to watts versus lumens and choosing an LED bulb explain the distinction.
Dimmers, sensors and control zones
Separate controls are often more useful than one large switched grid. For example, perimeter accents, central ambient lights and kitchen work zones may each benefit from independent dimming. Occupancy or vacancy sensors can suit utility areas, while tunable systems may need dedicated wired or wireless controls.
“Dimmable” does not guarantee good results with every dimmer. Confirm the manufacturer’s compatibility list, permitted fixture count, control type and stated low-end range. ENERGY STAR specifically advises checking compatible-dimmer information for both new and existing controls. ([energystar.gov](https://www.energystar.gov/products/light_fixtures?utm_source=openai)) Review how to choose an LED dimmer before purchase. Installing or replacing a wall control involves line-voltage wiring and should be handled by a licensed electrician when required by law or when the installer lacks the necessary competence.
Installation safety and troubleshooting
Know when to hire an electrician
Use a licensed electrician for new circuits, altered wiring, uncertain grounding, overloaded boxes, bathroom or outdoor locations, penetrations of fire-resistance-rated assemblies, or any work requiring a permit. The installer must follow the adopted electrical code, local amendments, fixture listing and manufacturer instructions.
Do not assume an ultra-thin fixture is acceptable in every rated ceiling. UL Solutions warns that a recessed penetration can affect a fire-resistance-rated floor-ceiling or roof-ceiling assembly unless the fixture or an approved protection method is covered by the applicable tested design. ([ul.com](https://www.ul.com/insights/influence-recessed-luminaires-fire-resistive-assemblies?utm_source=openai))
Pre-purchase and installation checklist
- Confirm joists, ducts, pipes and cables before cutting ceiling openings.
- Verify cutout diameter, ceiling-thickness range and required cavity depth.
- Match IC, airtight and moisture ratings to the location.
- Check whether the ceiling is part of a fire-resistance-rated assembly.
- Confirm voltage, control protocol and dimmer compatibility.
- Choose a consistent CCT and trim finish for adjacent fixtures.
- Check access to remote drivers and junction boxes.
- Buy a sample and assess glare, dimming and surface colors before ordering in quantity.
Common recessed-light problems
- Flicker or unstable low-end dimming: Check the compatibility list, minimum load, wiring and dimmer adjustment. Replace mismatched controls or fixtures rather than tolerating persistent flicker.
- Buzzing: Identify whether the sound comes from the dimmer, driver or fixture. A compatible control may help, but abnormal or increasing noise warrants professional inspection.
- Lights switch off and return later: Thermal protection may be operating because of overheating, an unsuitable lamp or incorrect insulation clearance. Turn the circuit off and have the installation inspected.
- Uneven pools or dark walls: Review beam angle, spacing, aiming and the need for a wall-wash or supplementary lighting layer.
- Different colors between fixtures: Check CCT switches, product codes and control settings. Replace mismatched units as a group if necessary.
Good recessed lighting begins with the ceiling conditions, not the trim style. Establish the required safety ratings, decide what surfaces and tasks need light, calculate a provisional quantity, and then refine the layout with beam and photometric information. That sequence is more reliable than filling the ceiling with evenly spaced fixtures and trying to correct glare or shadows afterward.
Frequently asked questions
How many recessed lights do I need?
Estimate the quantity using target foot-candles multiplied by room area, divided by fixture lumens, coefficient of utilization and light-loss factor. Treat the result as a starting point because ceiling height, beam distribution, surface colors, daylight and other light sources affect the final layout.
How far apart should recessed lights be?
Use the manufacturer's spacing criterion when available: multiply it by the fixture's mounting height above the work plane. Photometric data is preferable to a universal ceiling-height rule, especially with narrow beams, tall ceilings or task-specific layouts.
What is the difference between IC-rated and airtight recessed lighting?
An IC-rated fixture is designed for permitted contact with insulation. An airtight designation concerns air leakage through the fixture assembly. A product may have one rating, both ratings or neither, so check its markings and installation instructions.
Are canless recessed lights better than traditional cans?
Neither type is universally better. Canless fixtures suit shallow cavities and remodel work, while traditional housings may offer deeper shielding, replaceable bulbs and more trim choices. Compare glare, serviceability, ratings, controls and ceiling access.
Why do recessed LED lights flicker when dimmed?
Common causes include an incompatible dimmer, an unsupported fixture count, incorrect low-end adjustment, wiring problems or a failing driver. Check the fixture manufacturer's compatibility information and use a licensed electrician if the cause is not safely identifiable.
Questions & discussion
Share a question or a useful experience about this guide. Comments appear immediately. Your name and comment are public. Email is optional and stays private; reply emails are not enabled yet. Comment privacy.