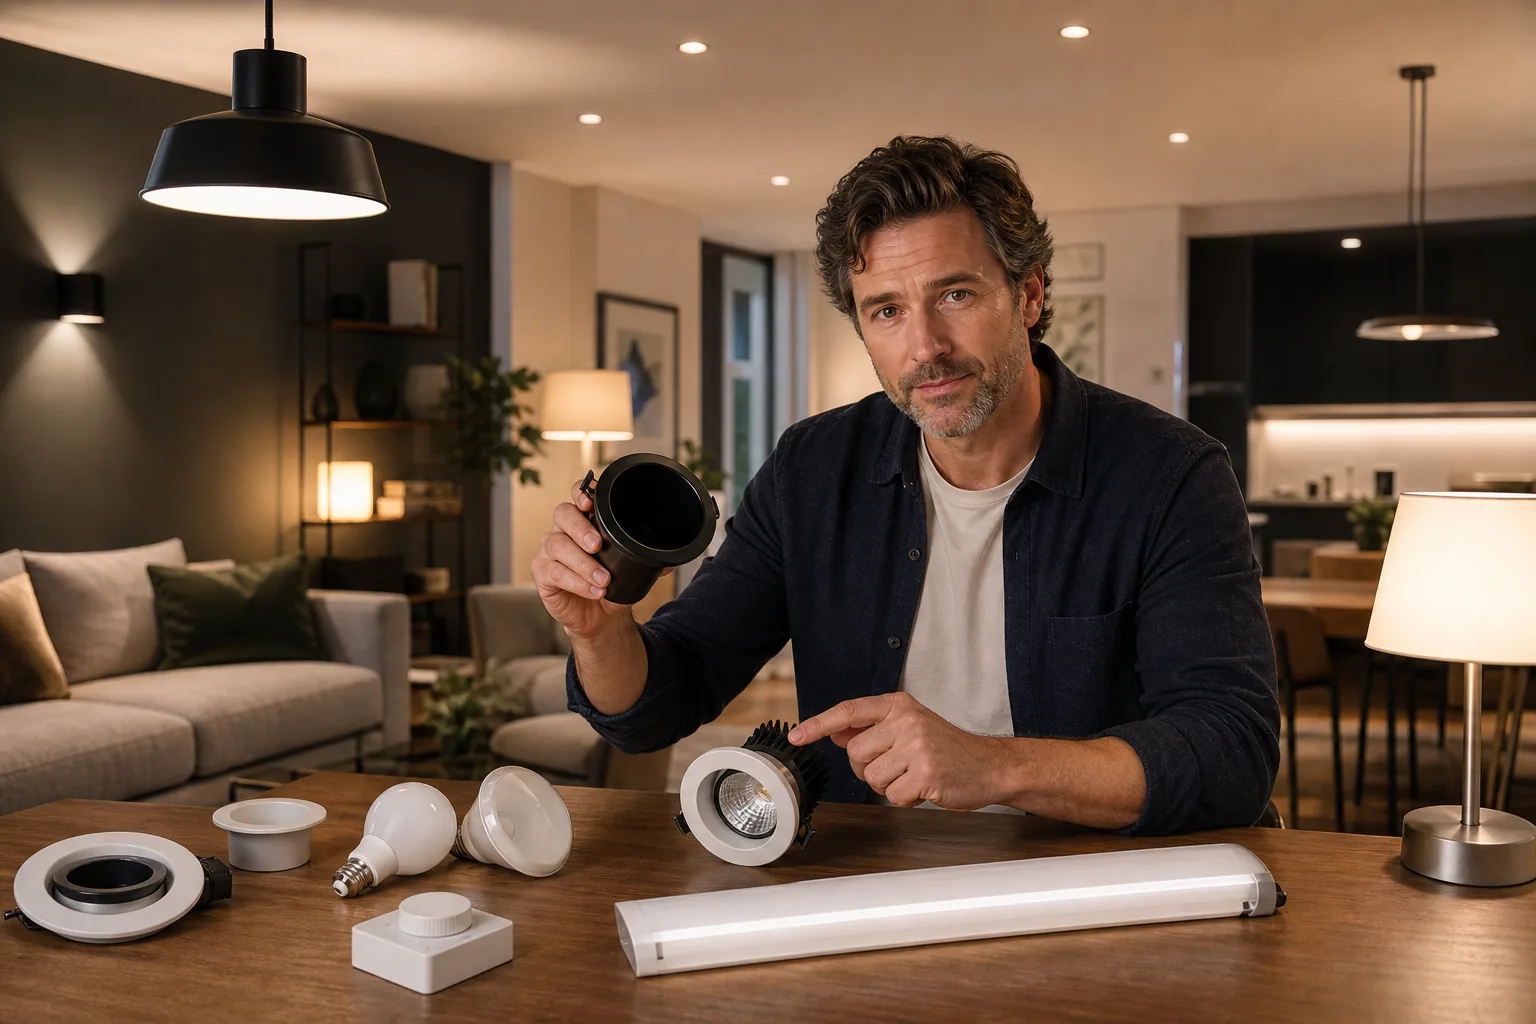
To reduce lighting glare, start by keeping bright bulbs and LED emitters out of normal sightlines. Add shielding or diffusion, spread the light across a larger surface, aim task lights away from eyes and screens, and use a compatible dimmer to lower output when full brightness is unnecessary. These changes usually work better than simply replacing every bulb with a lower-lumen model, because glare depends on contrast, source position and apparent brightness as well as total light output.
What lighting glare is—and why brightness alone does not explain it
The Illuminating Engineering Society defines glare as a sensation caused by luminances in the field of view that are substantially greater than the level to which the eyes are adapted. Its severity depends on factors including the source's luminance, size and position, the number of sources and the surrounding brightness. In everyday terms, glare occurs when one part of the view is uncomfortably bright compared with everything around it. The IES definition of glare provides the technical basis for this explanation.
Discomfort glare and disability glare
Discomfort glare causes annoyance or discomfort without necessarily making an object harder to see, according to the International Commission on Illumination. Disability glare reduces visibility or visual performance, such as when a bright source washes out the contrast around a nearby object. A light can produce one or both effects. CIE's lighting vocabulary defines discomfort glare more precisely.
Direct, reflected and daylight glare
- Direct glare: You can see a bare bulb, LED array or intensely bright fixture aperture from a normal sitting or standing position.
- Reflected glare: Light bounces from a television, monitor, polished counter, glossy tile, framed picture or other reflective surface toward the viewer.
- Daylight glare: Direct sun, bright sky or a sunlit exterior surface creates excessive contrast near a window.
Glare is therefore not measured in watts. Watts indicate electrical power, while lumens describe light output and lux describes illuminance on a surface. Neither lumens nor lux alone tells you whether a source will be comfortable to look toward.
Quick ways to reduce glare without rewiring
Begin with reversible adjustments. Make one change at a time so you can identify which factor is responsible.
- Change the sightline. Move a floor or table lamp so its bulb is hidden by the shade when viewed from the usual seat. Adjust a monitor so ceiling lights are not reflected in it.
- Lower the source output. Select a lower-lumen bulb or reduce a compatible dimmer setting. Do not compensate by making the whole room too dark; add localized task lighting if needed.
- Add shielding. Use a deeper shade, baffle, louver, recessed trim or fixture designed to conceal the bright source at common viewing angles.
- Use indirect light. Aim suitable lamps toward a light-colored wall or ceiling so a broad surface becomes the visible source instead of a small, intense bulb.
- Soften window contrast. Adjustable blinds, lined curtains, exterior shading or a light-filtering shade can control direct sunlight while retaining useful daylight.
- Reduce reflections. Reposition portable lights and screens, or choose matte finishes where practical. Avoid directing narrow beams onto glossy worktops.
- Build layers. Combine moderate ambient light with task and accent light rather than asking one central fixture to provide every lumen. See the guide to layered lighting.
Diagnose the cause before buying a new fixture
Observe the room from the positions where glare occurs: a sofa, desk, dining chair, kitchen work area or hallway approach. The apparent source may change with viewing direction, so a fixture that feels comfortable while standing beneath it may still glare across the room.
| What you notice | Likely cause | First practical fix |
|---|---|---|
| A visible bulb is painfully bright | High source luminance and inadequate shielding | Use a deeper shade, frosted lamp, baffle or fixture with a larger luminous surface |
| Ceiling lights appear in a monitor | Reflected glare and unfavorable geometry | Rotate or relocate the screen, then adjust fixture aim or use indirect lighting |
| The room feels dim but one lamp still glares | Excessive contrast between the source and background | Add gentle ambient light to nearby walls while reducing the glaring source |
| Recessed lights glare across a sofa or bed | Wide distribution, shallow recess or exposed emitter | Consider deeper-regressed, baffled or better-shielded trims |
| Pendant bulbs are visible from the table | Fixture mounted too high, clear shade or exposed lamp | Lower the fixture where appropriate or select an opaque or diffusing shade |
| Sunlight makes a screen unreadable | Direct daylight or a bright window within the field of view | Turn the screen perpendicular to the window and add adjustable shading |
| Only one seating position is uncomfortable | Source position relative to that viewer | Change the lamp, seat or aiming angle before reducing room-wide output |
If several exposed downlights or decorative lamps are visible at once, changing only one may have little effect. The number and position of bright sources both contribute to glare. Formal projects can use metrics such as Unified Glare Rating, but UGR describes a lighting installation under defined viewing and room conditions; it is not a universal comfort label for a single residential bulb. The CIE notes that observer position and viewing direction are part of its interior glare method. Read the CIE overview of UGR.
Plan enough light without creating bright hotspots
A common mistake is selecting one high-output fixture to satisfy the estimated lumen requirement for an entire room. A more comfortable plan distributes output among ambient, task and accent sources. This also gives you independent control over the light needed for cooking, reading, cleaning or relaxing.
A useful illuminance calculation
Illuminance can be expressed with the simplified relationship:
Lux = lumens reaching the surface ÷ surface area in square meters
For preliminary planning, rearrange the equation and include an allowance for light that does not reach the work plane:
Estimated source lumens = target lux × area in m² ÷ planning factor
The planning factor combines losses from fixture distribution, room geometry, surface reflectance and normal depreciation. It is not a fixed standard. If no photometric data are available, 0.60 can be used as an explicitly rough early-stage assumption—not as a guarantee of the final illuminance.
For example, suppose a 12 by 14 foot room has an area of 168 square feet, or approximately 15.6 square meters. If you have independently chosen a 200-lux planning target and assume a 0.60 planning factor:
200 × 15.6 ÷ 0.60 = approximately 5,200 source lumens
That result does not mean the room needs a single 5,200-lumen ceiling fixture. Dividing the output among a moderate ambient fixture, wall-washing light and focused task lamps will usually provide more control and fewer intense sources. Use the lumens calculator for preliminary estimates and the fixture spacing tool when planning multiple fittings.
Balance source brightness with the background
Light-colored, matte walls and ceilings can help distribute indirect light and raise the visual adaptation level without adding small, exposed bright points. Very dark surroundings can make the same fixture appear harsher because the contrast is greater. The U.S. Department of Energy advises matching the amount and quality of light to the function, using task lighting where needed and reducing ambient light elsewhere. DOE's efficient lighting guidance also emphasizes that more light is not necessarily better.
Choose bulbs and fixtures that control the source
Look beyond the lumen number
For portable and open fixtures, compare bulb shape, size, finish and beam distribution as well as lumens. A frosted bulb spreads light across a larger visible area and hides individual LED points better than a clear lamp, although the fixture itself still needs suitable shielding. In a spotlight or recessed fitting, match the beam to the target rather than allowing the brightest part of the beam to cross normal sightlines. The beam angle guide and beam spread calculator can help estimate coverage.
Prefer controlled distribution
- Deep-regressed downlights place the emitting surface higher inside the fixture, reducing direct visibility from across the room.
- Baffles and louvers block high-angle views of the source and redirect light into a more useful zone.
- Opaque shades can shield the eye while sending light upward, downward or both.
- Large diffusing surfaces can appear gentler than compact, high-intensity emitters, provided the diffuser does not remain excessively bright.
- Wall washers and indirect fixtures illuminate broad architectural surfaces, helping reduce sharp luminance contrasts.
Do not assume that adding a thin diffuser will automatically solve glare. Its effectiveness depends on the material, area, light output and viewing angle. If the diffuser itself becomes a small, very bright panel, it may remain uncomfortable.
Check fixture suitability
Bulbs used in enclosed fixtures must be approved by their manufacturer for that application. Recessed fixtures near insulation require the appropriate rating. ENERGY STAR advises choosing Type IC downlights where insulation will touch the fixture; non-IC models require specified clearance. ENERGY STAR's downlight guidance also explains airtight ratings and dimmer compatibility.
Use controls, daylight and layered lighting together
Dimming is useful because the comfortable setting often changes with daylight, task and time of day. Confirm that the LED bulb or integrated fixture is dimmable and appears on the dimmer or lighting manufacturer's compatibility information. An incompatible combination can produce flicker, buzzing, limited range, delayed starting or failure to turn off cleanly.
Where possible, place ambient, task and decorative lighting on separate controls. A kitchen might use independently controlled ceiling light, under-cabinet task light and pendants. A living room may need dimmable indirect ambient light plus reading lamps beside individual seats. Visit the room lighting guides or start-here guide to develop a complete plan.
For daylight, orient screens roughly perpendicular to windows rather than directly facing or backing onto them. Use adjustable shades so the solution can respond to changing sun angles. East- and west-facing windows can be especially difficult at low morning or evening sun angles, while the exact result depends on orientation, season, nearby buildings and exterior shading.
A final glare troubleshooting and safety checklist
- View each light from normal seated and standing positions.
- Identify whether the problem is direct, reflected or daylight glare.
- Hide bare bulbs and concentrated LED points from routine sightlines.
- Re-aim adjustable fixtures so beams end on the intended task or surface.
- Move screens or glossy objects before replacing fixed lighting.
- Reduce output, then restore task visibility with a local light if required.
- Distribute lumens among several layers instead of one intense source.
- Check bulb-to-fixture and LED-to-dimmer compatibility.
- Stop using a fitting that flickers, buzzes, smells hot, shows discoloration or trips a breaker.
Changing a portable lamp or manufacturer-approved bulb is generally different from modifying fixed wiring. Use a licensed electrician when work involves replacing a hardwired fixture or wall dimmer, adding a circuit, altering a luminaire, diagnosing repeated breaker trips, handling damaged wiring or working where local rules require a permit. Turn off the correct circuit at the electrical panel before any permitted electrical work, and do not rely only on the wall switch. UL warns that improper installation of lighting retrofit kits can create fire or shock hazards and says qualified electricians should complete retrofits according to their instructions. See UL's retrofit safety notice.
If the glare remains after repositioning, shielding and output adjustments, the fixture's optical design may be unsuitable for the room. Record the problematic viewing positions, ceiling height, fixture spacing, beam angle and control type before consulting a lighting designer or electrician. For additional fault-finding steps, use the lighting troubleshooting guides.
Frequently asked questions
What is the fastest way to reduce glare from a ceiling light?
Lower its output with a compatible dimmer, conceal the bright source with suitable shielding, or replace the trim or fixture with a deeper-regressed or baffled design. Also check whether moving a screen, seat or reflective object solves the sightline problem.
Do lower-lumen bulbs always reduce glare?
They can help, but not always. A lower-output bare bulb may still glare in a dark room, while a higher-output source may be comfortable when it is well shielded and distributed over broad surfaces. Placement, apparent source size and surrounding brightness also matter.
Are frosted bulbs better for glare?
A frosted bulb can hide concentrated LED points and spread light across a larger visible area, which may reduce harshness. It is not a complete solution if the bulb remains directly visible or the fixture is poorly positioned.
How can I reduce glare on a computer screen?
Turn the screen so windows are to the side, reposition portable lights, avoid aiming narrow beams toward the display and use adjustable window shades. Indirect ambient lighting often produces fewer screen reflections than exposed overhead sources.
When should an electrician fix a glare problem?
Use a licensed electrician when the remedy requires changing a hardwired fixture or dimmer, altering wiring, adding a circuit, modifying a luminaire or investigating buzzing, overheating, damaged wiring or repeated breaker trips.
Questions & discussion
Share a question or a useful experience about this guide. Comments appear immediately. Your name and comment are public. Email is optional and stays private; reply emails are not enabled yet. Comment privacy.